Skip to content

Cart

Your cart is empty.

Alocasia Plants: Types, Naming, Care Basics and How to Choose

Alocasia ranges from compact jewel types to large upright plants with broad, architectural leaves. Leaf shape, texture, vein contrast, colour and scale vary widely across the genus, and those differences affect how each plant behaves indoors.

This guide helps you read Alocasia labels, understand the main growth habits, compare size groups, spot common problems, and choose a plant that fits your light, warmth, space, warmth and watering rhythm.

📌 Read the full Alocasia indoor care guide for deeper care, underground structures, habitat translation and rot triage.

🛒 Shop Alocasia plants

Close-up of Alocasia plants with white veins on glossy green leaves.
Close-up of various Alocasia leaves with a focus on texture and color variation.

Alocasia at a Glance

Start with these checks before choosing or adjusting Alocasia:

  • Give Alocasia bright usable light close to the plant, not distant room brightness.
  • Water after checking pot depth; active plants usually need water once the upper 15–25% has dried.
  • Choose pot size by root mass and drying speed, not by leaf spread.
  • Keep the crown at substrate level and avoid burying petiole bases.
  • Use substrate that re-wets evenly but still leaves air spaces around roots.
  • Protect roots from cold surfaces and repeated drafts.
  • Treat humidity as support for leaf expansion, not as a fix for weak light or stale substrate.
  • One old leaf can fade naturally; several leaves declining together need a closer check.

📌 Go deeper: full Alocasia indoor care guide

Botanical Profile and Alocasia Naming

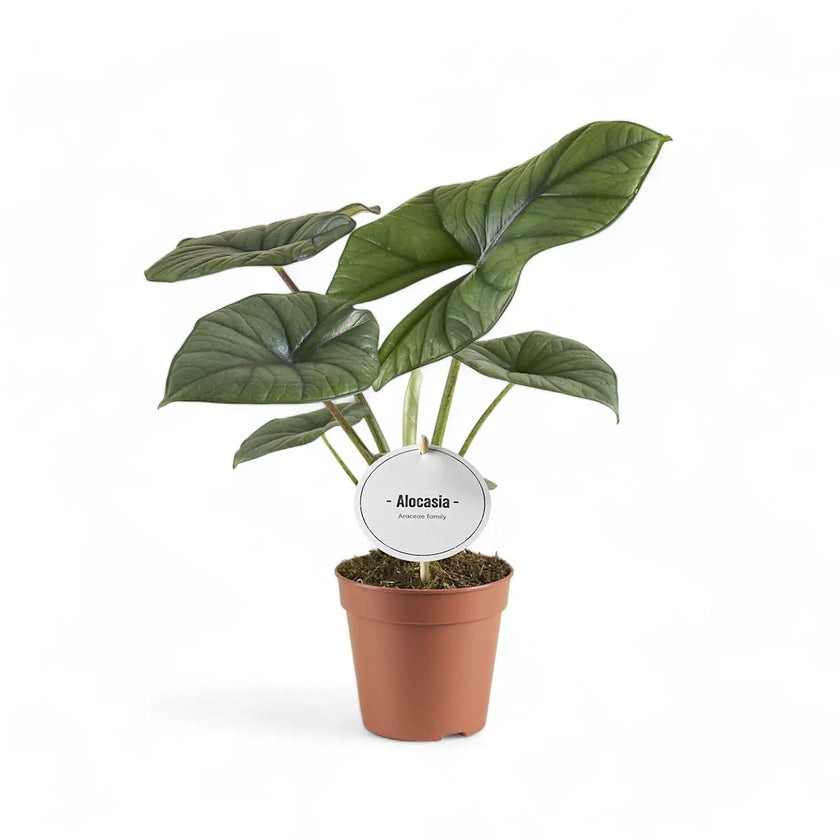
Alocasia moves through horticulture under botanical names, cultivar names, hybrid names, trade labels, and loose common names. That overlap is exactly why “elephant ear” creates confusion: it is a retail umbrella, not an identification.

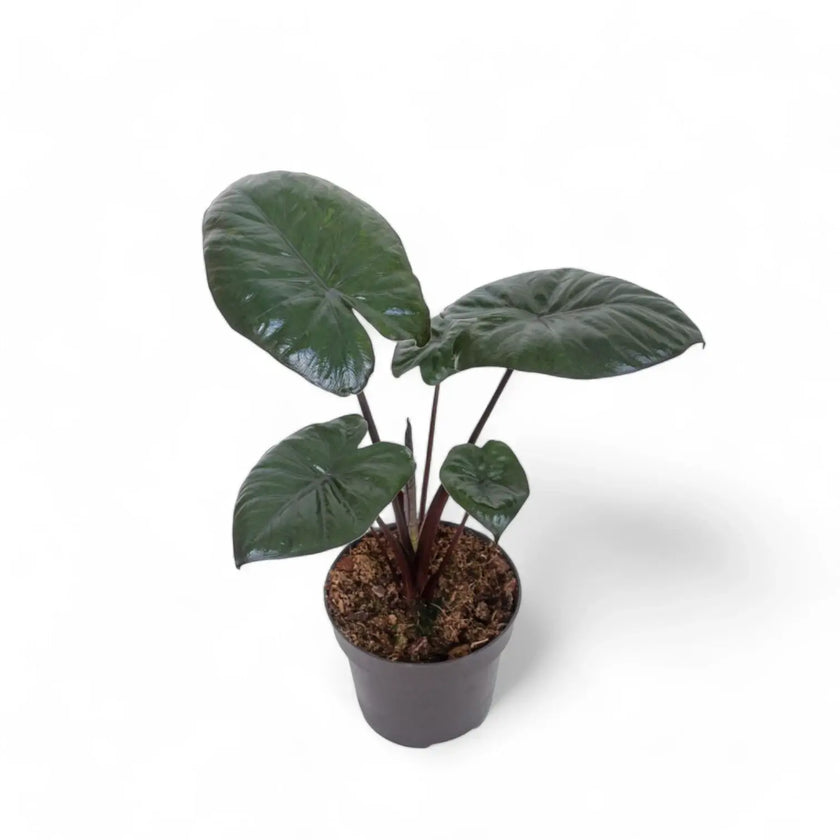
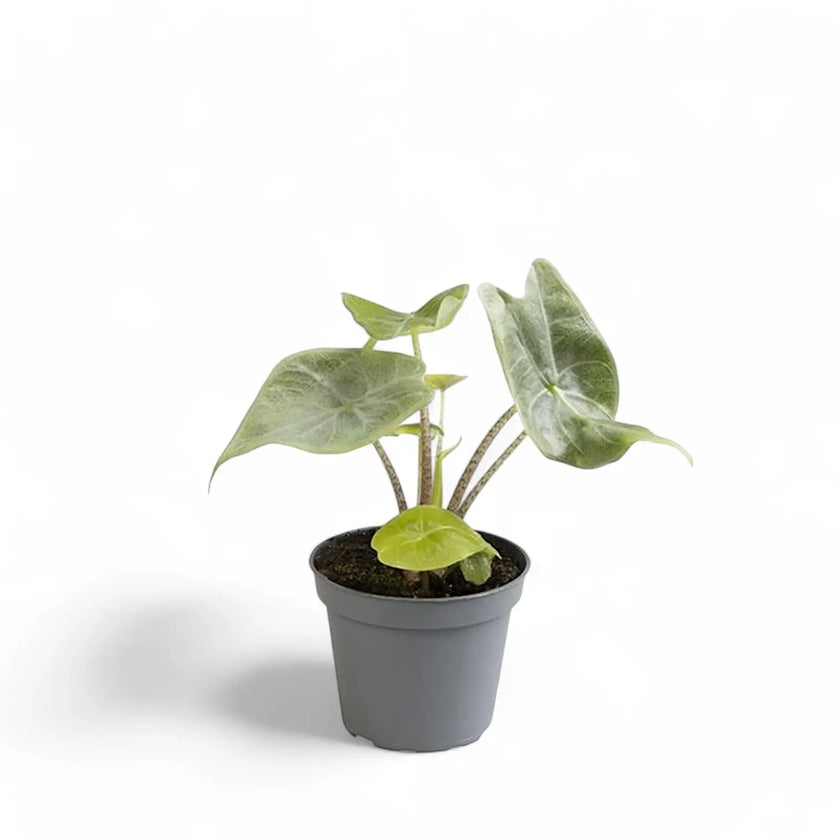
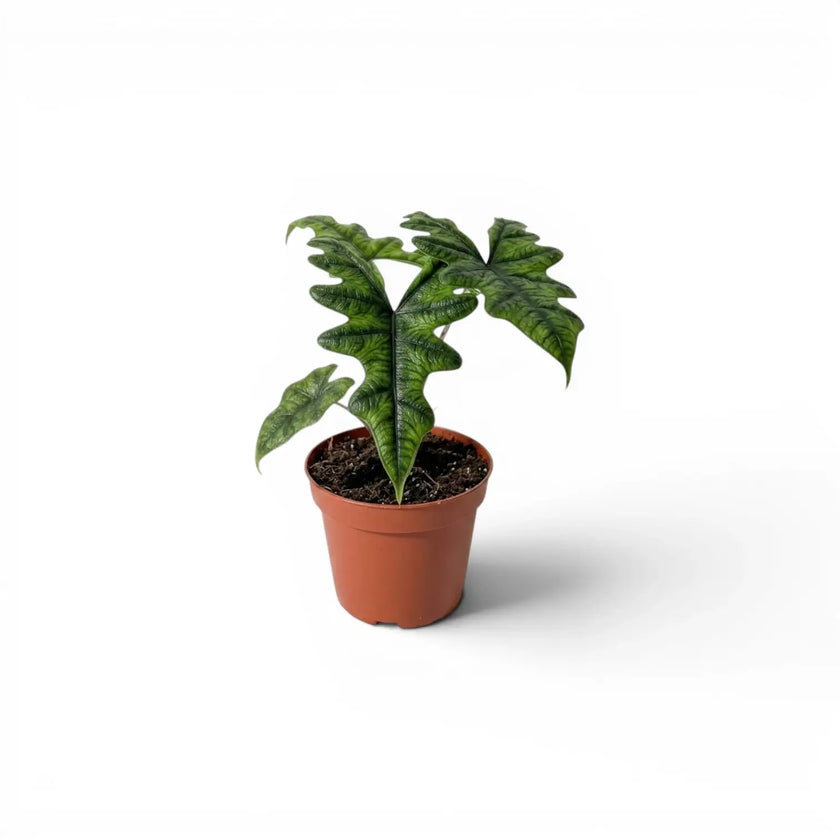
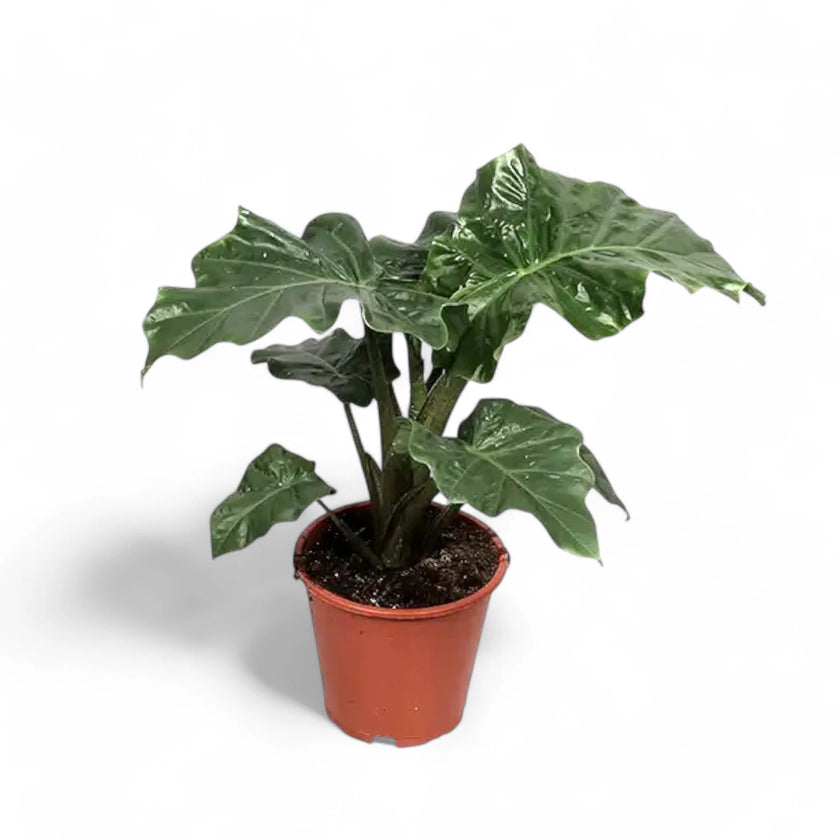
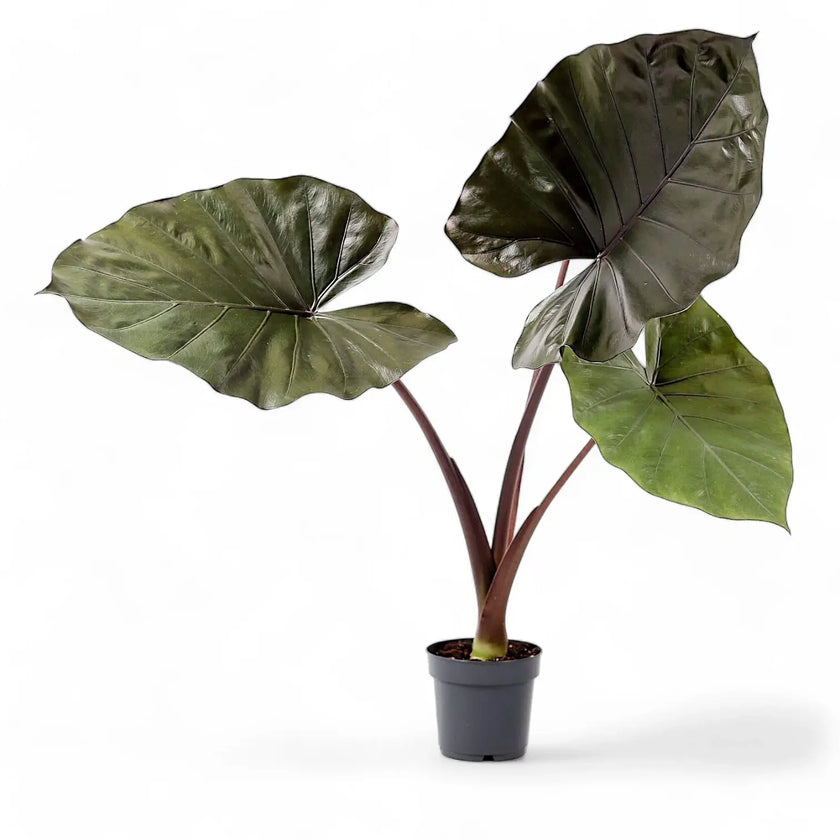
Reliable labels help predict mature size, growth habit, and indoor behaviour. When a label is uncertain, use structure and growth pattern as your safer guide.

What Alocasia labels usually mean

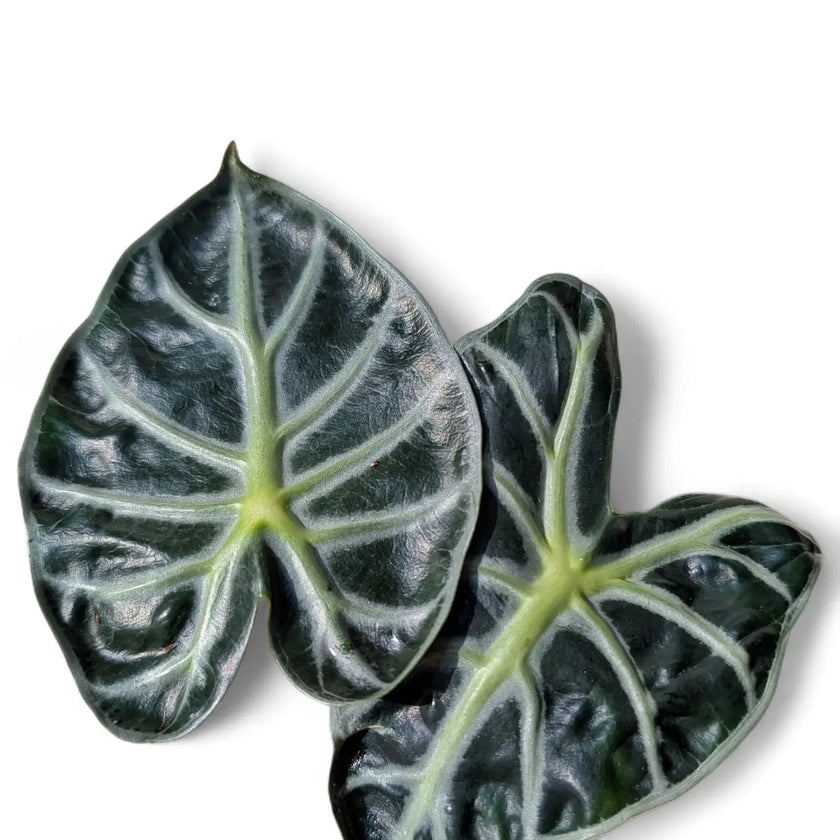
  • Species: naturally occurring taxa, often variable across range and form
  • Hybrids: crosses between taxa, sometimes sold as stable horticultural clones
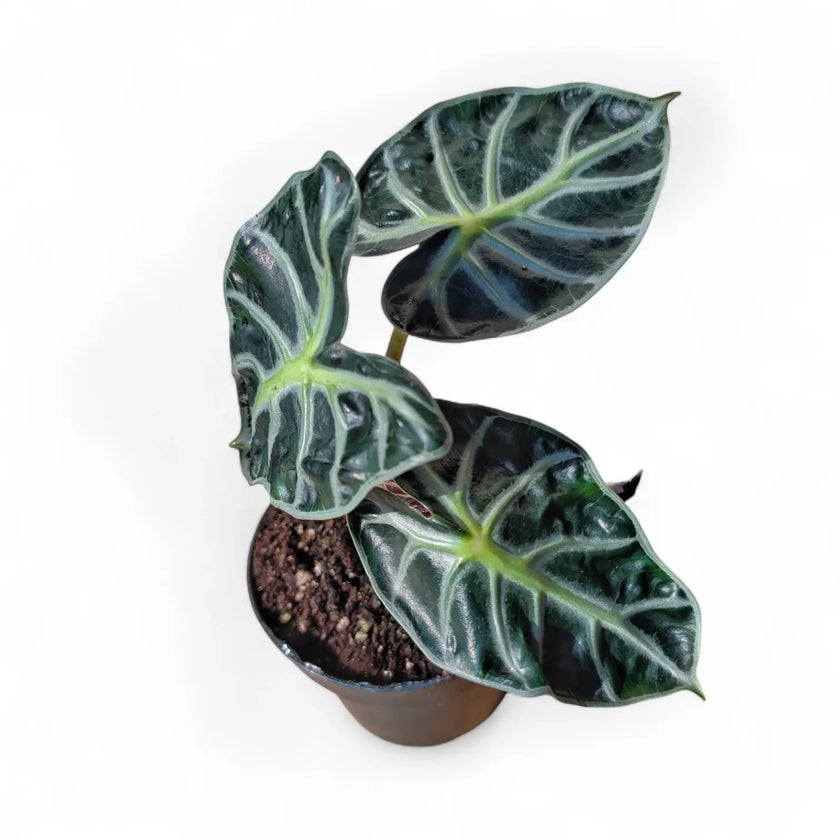
  • Cultivars: named cultivated selections in single quotes, with repeatable traits when stable
  • Trade names: supplier or marketing shorthand that can drift between regions

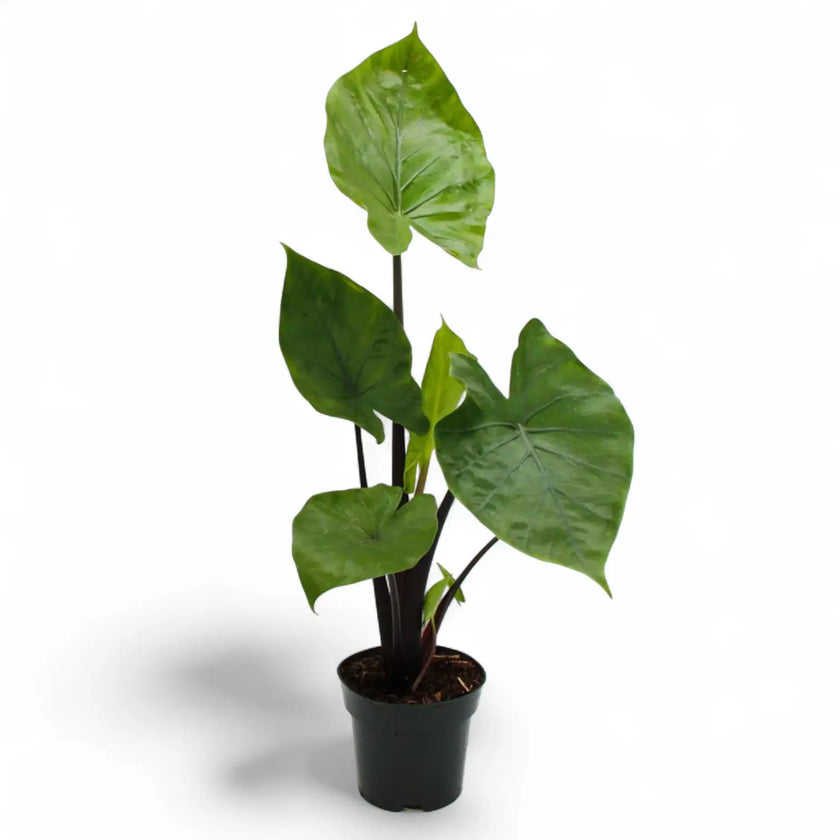
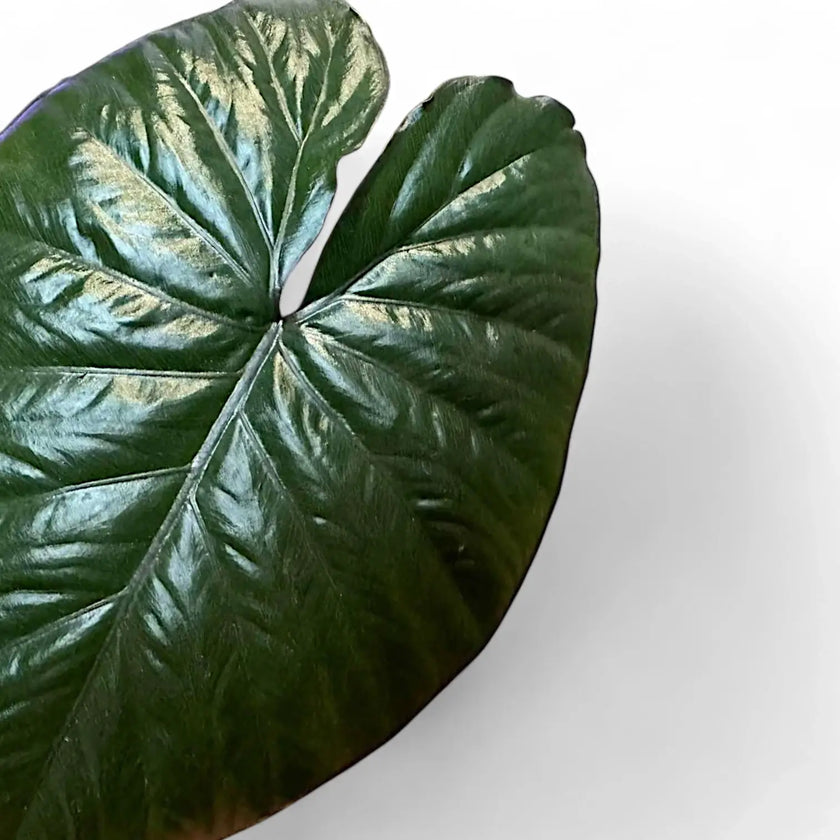
Alocasia vs Colocasia vs Xanthosoma

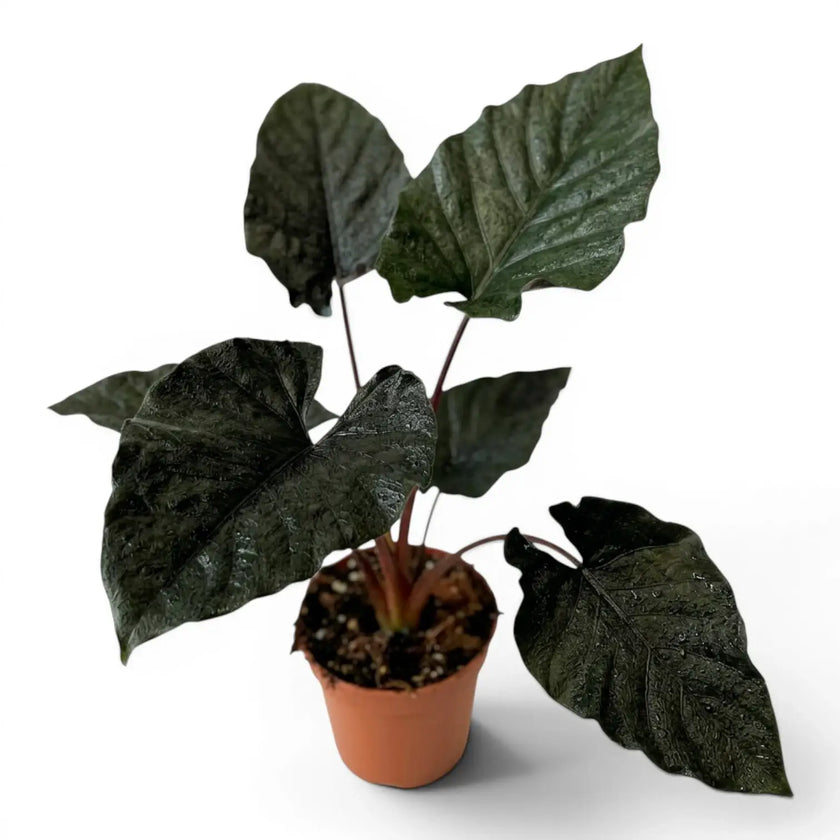
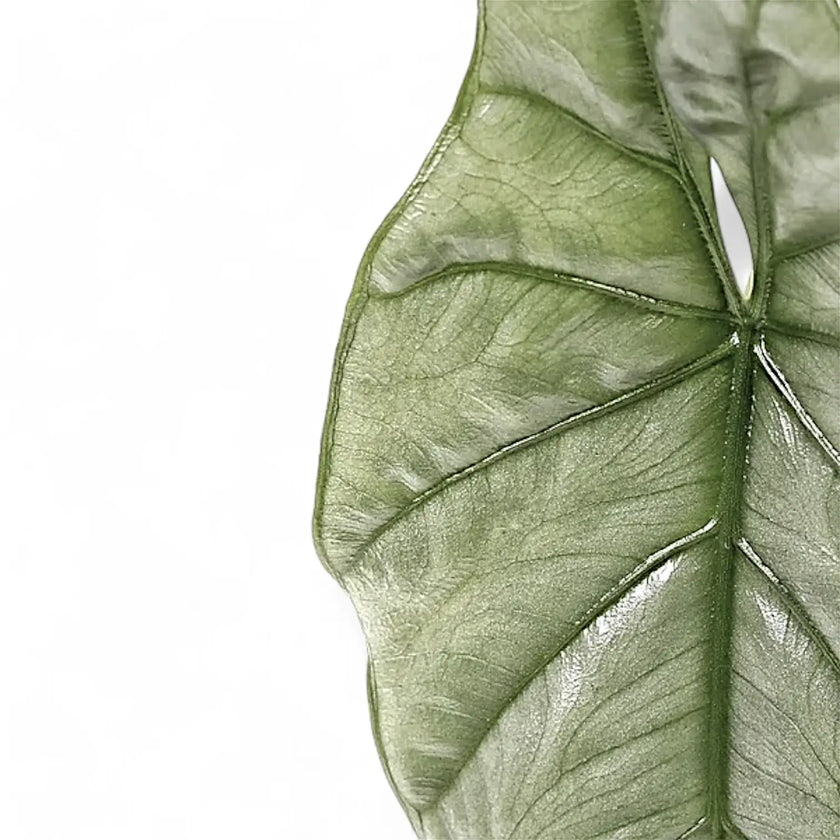
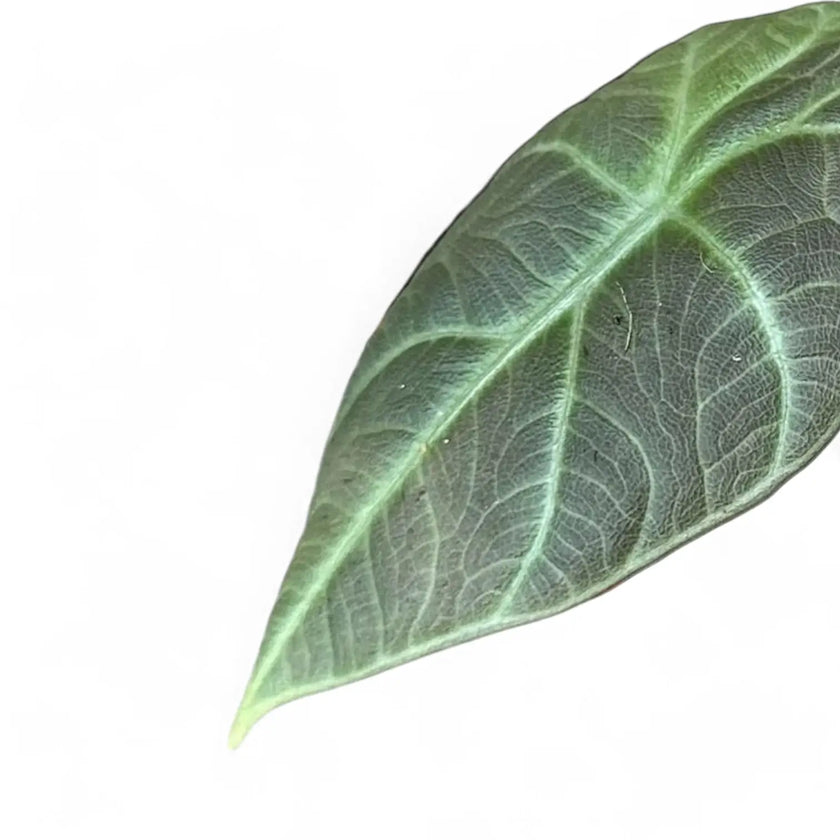
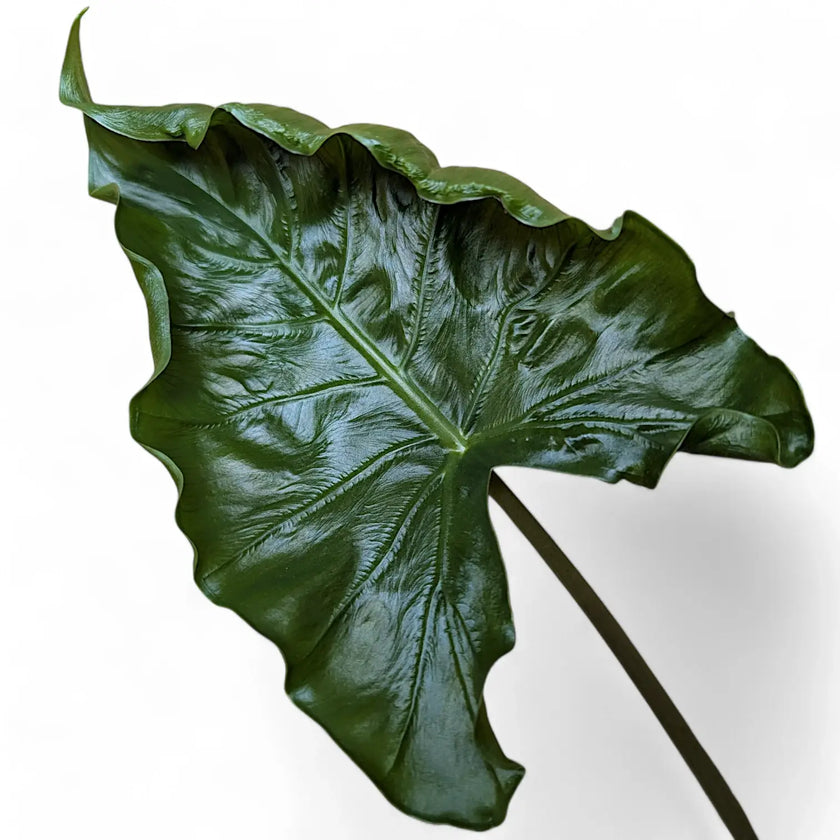
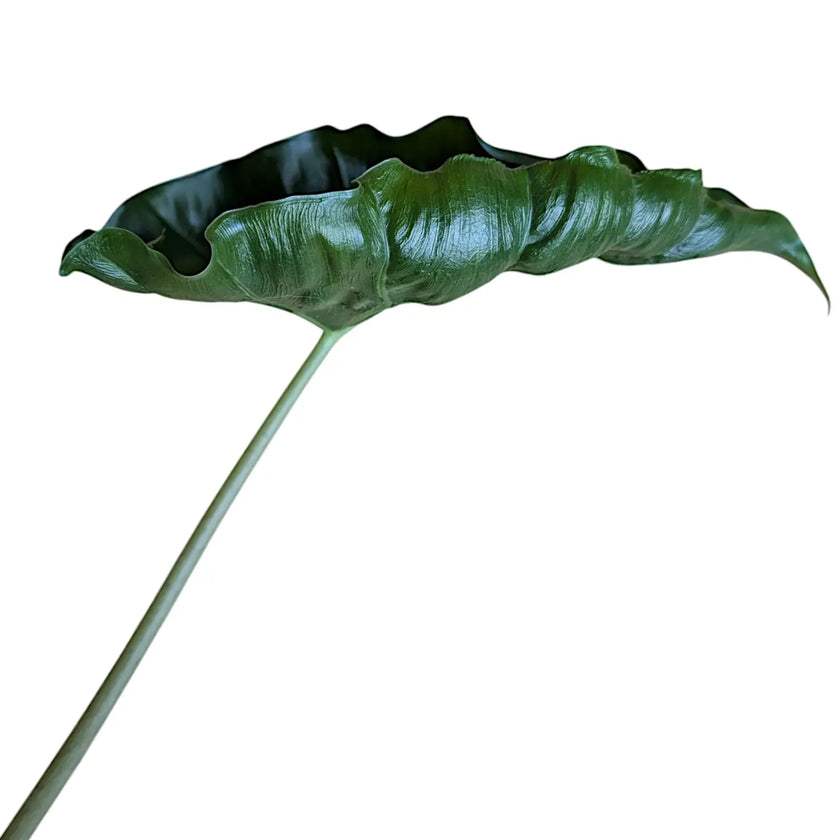
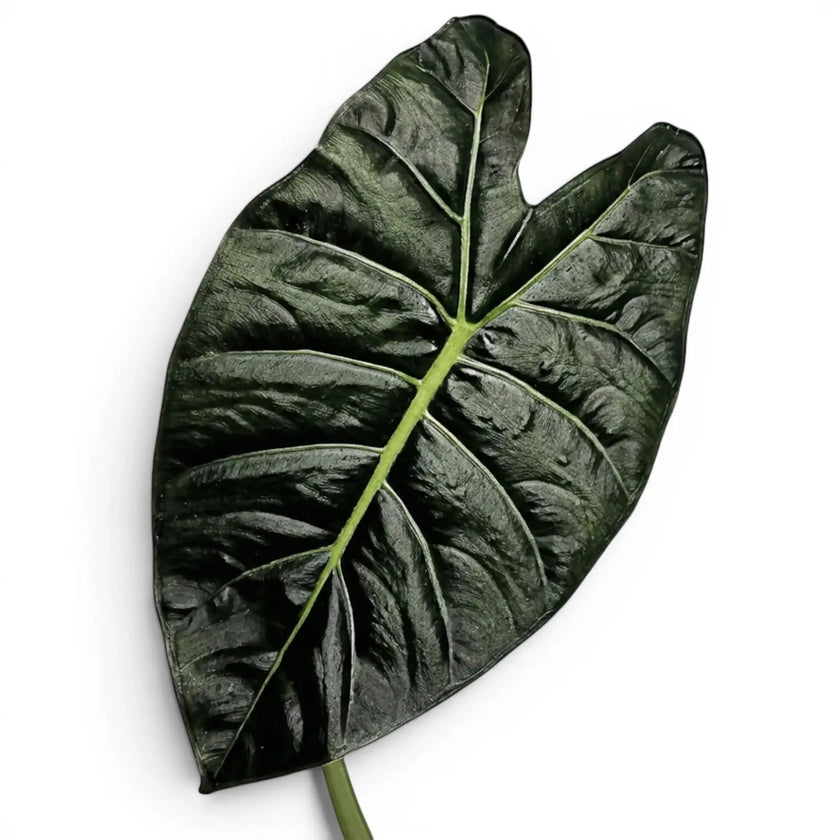
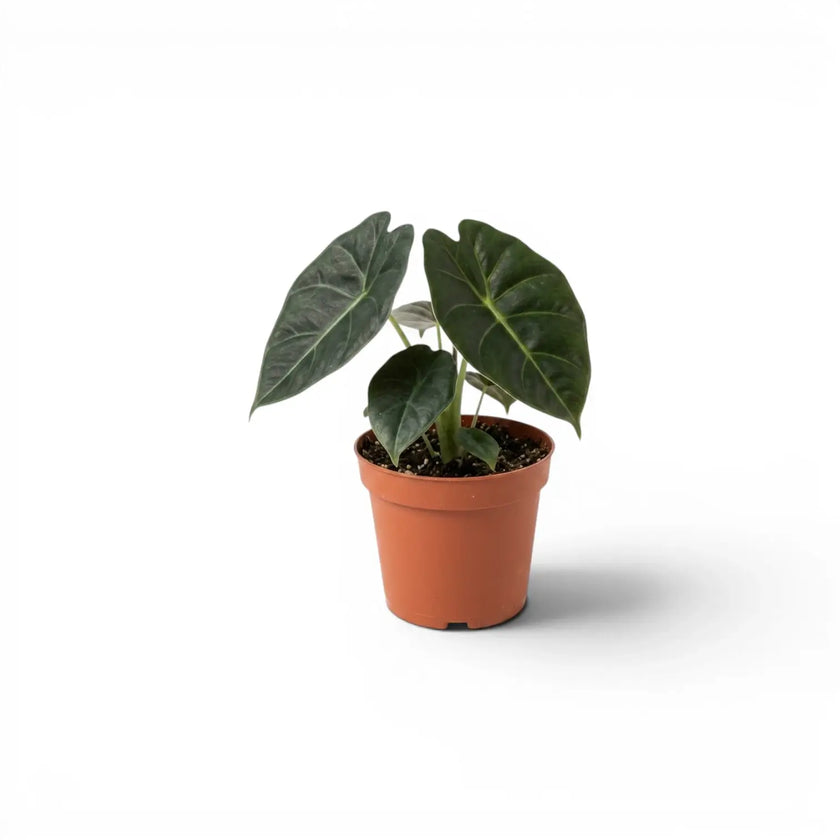
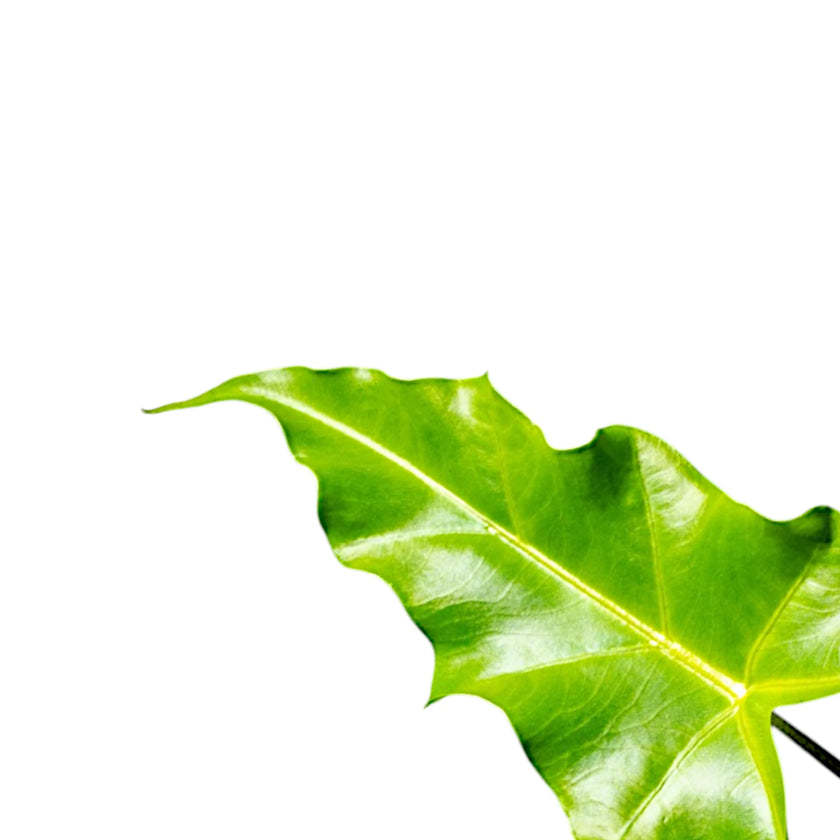
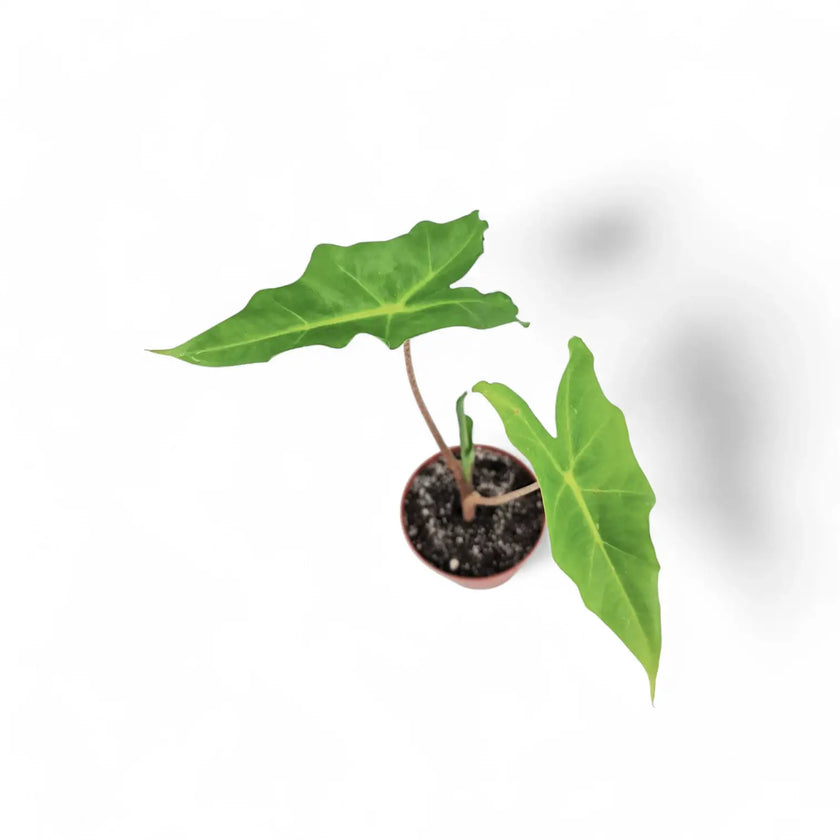
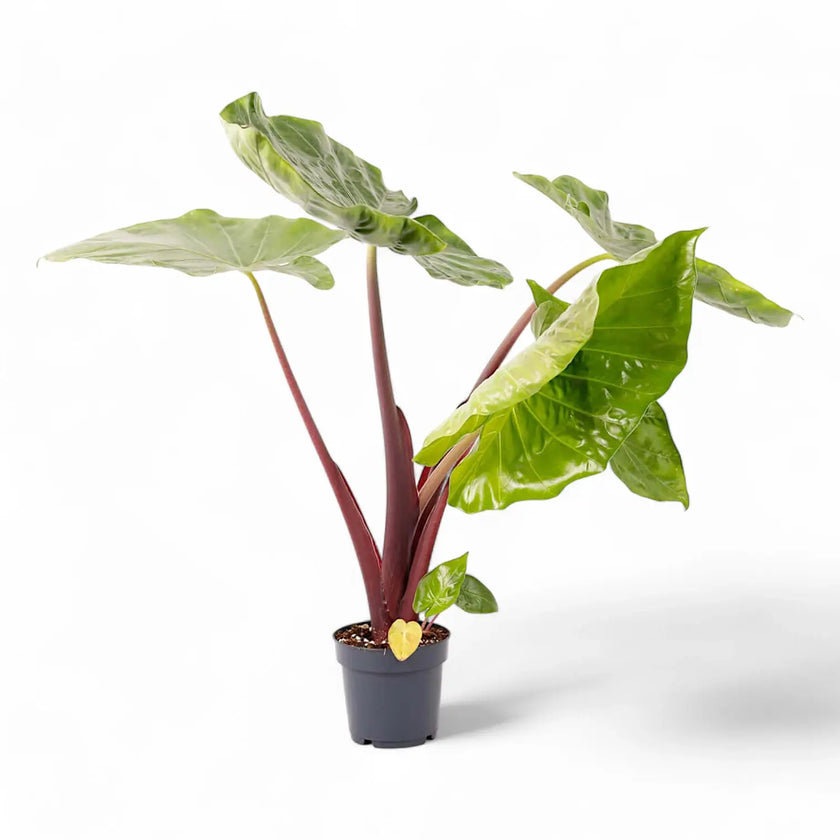
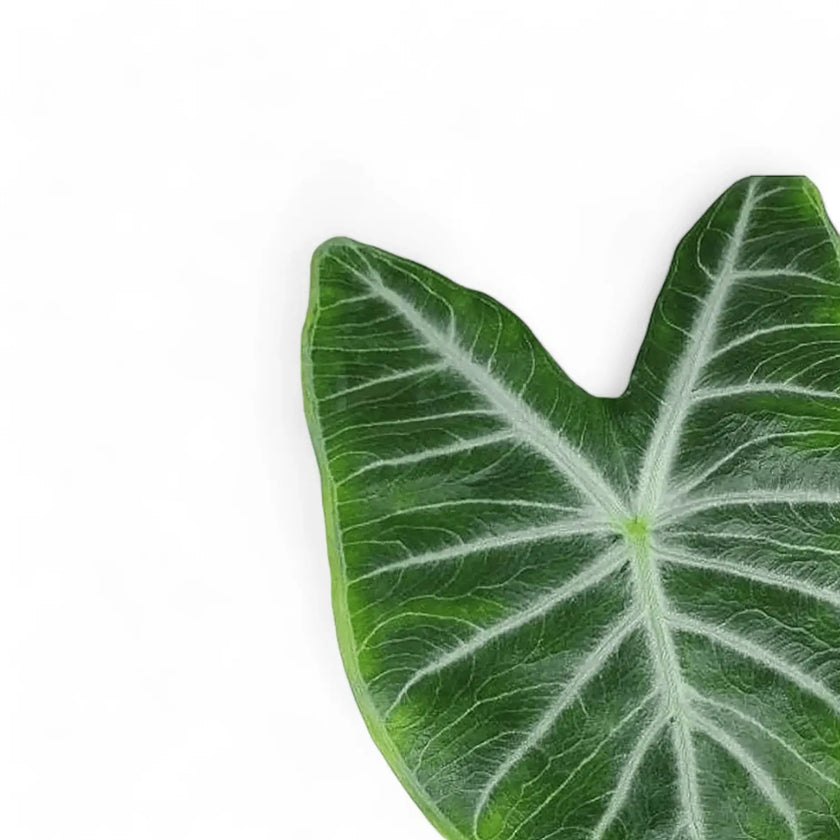
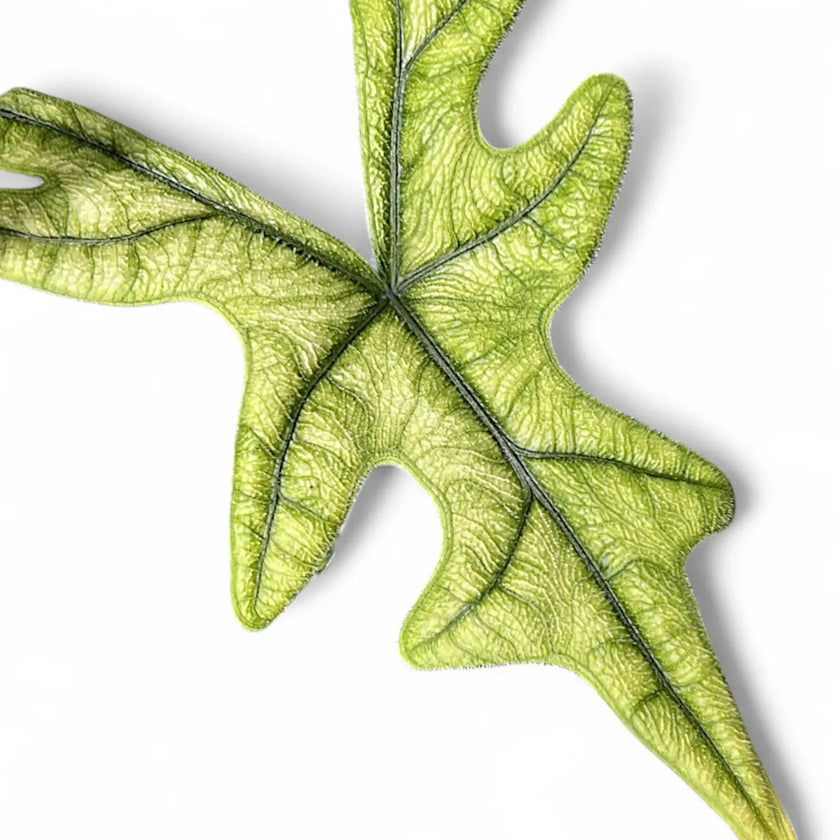
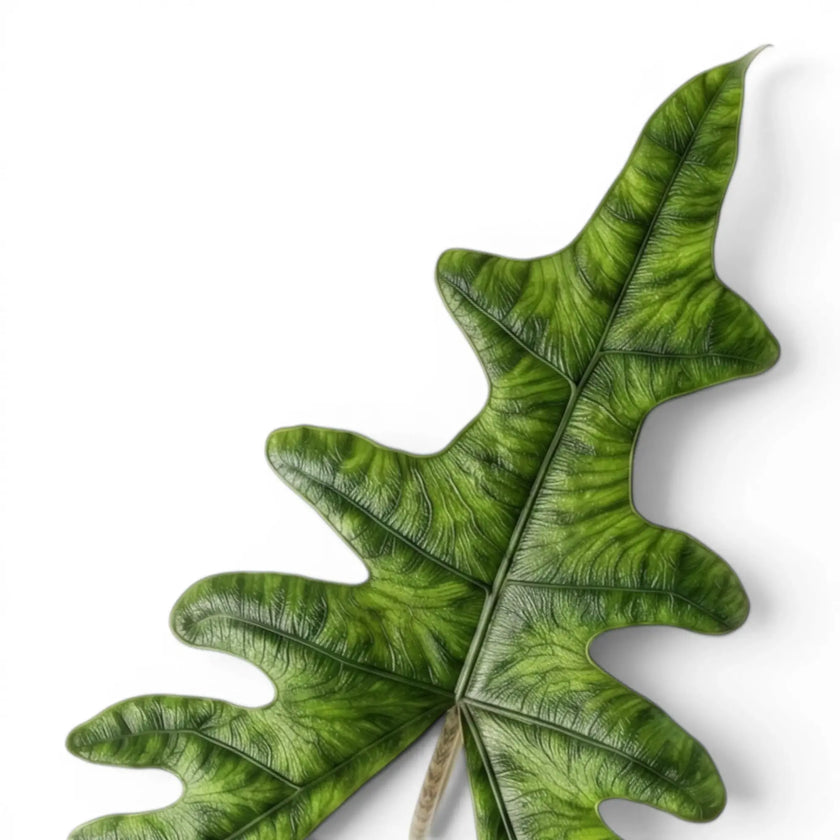
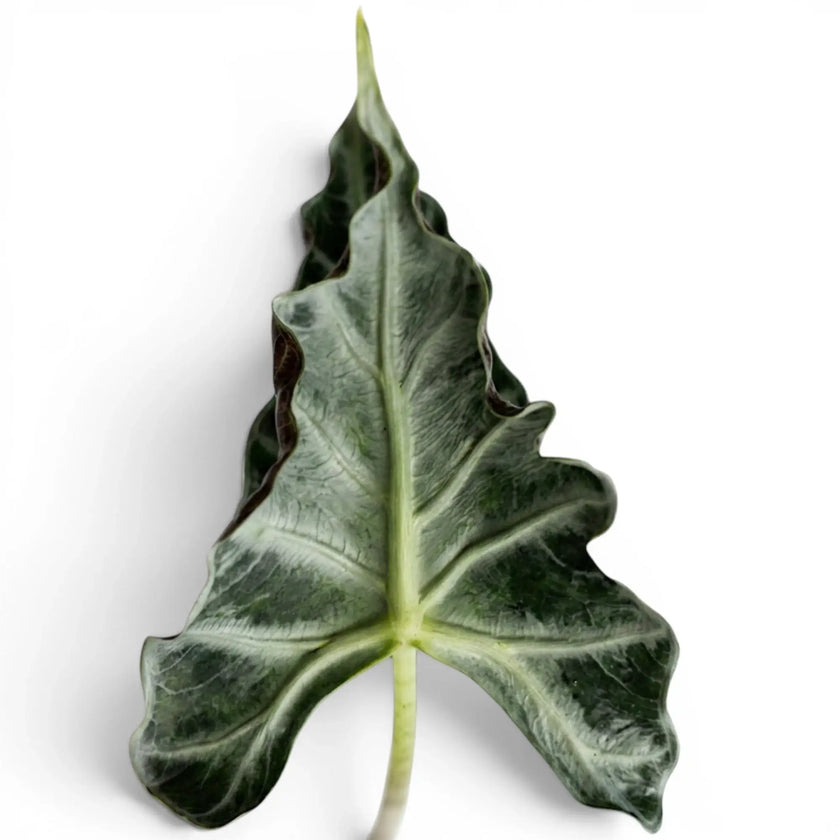
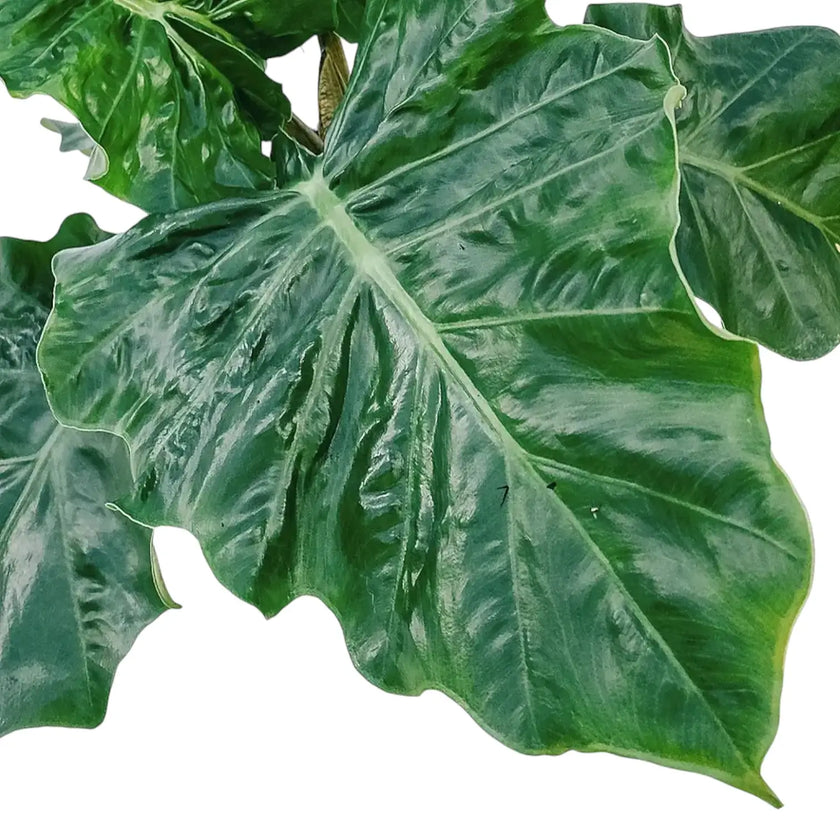
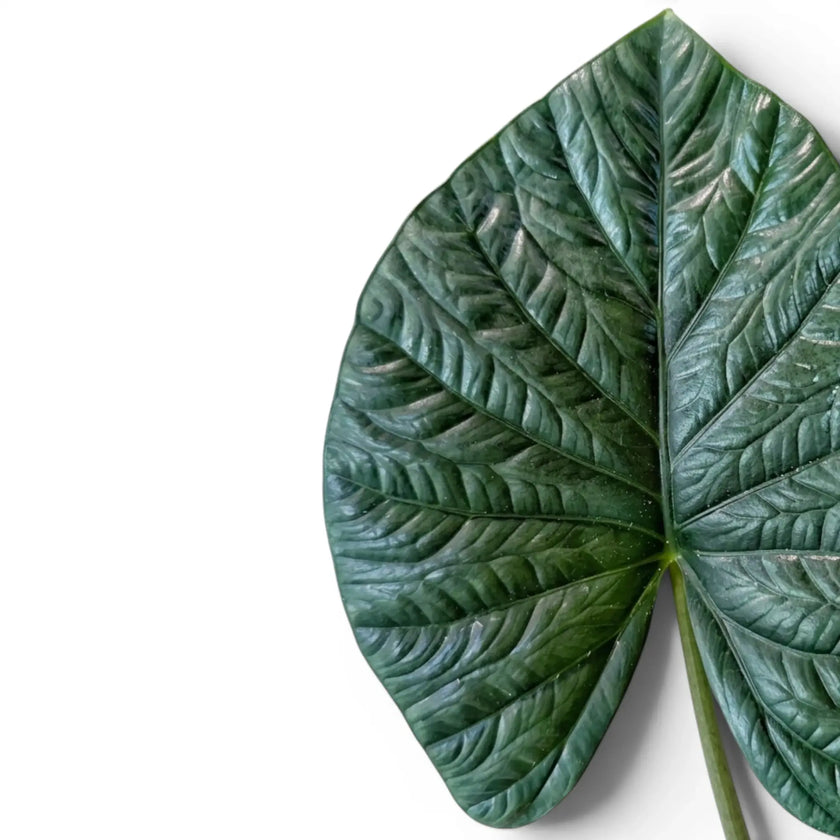
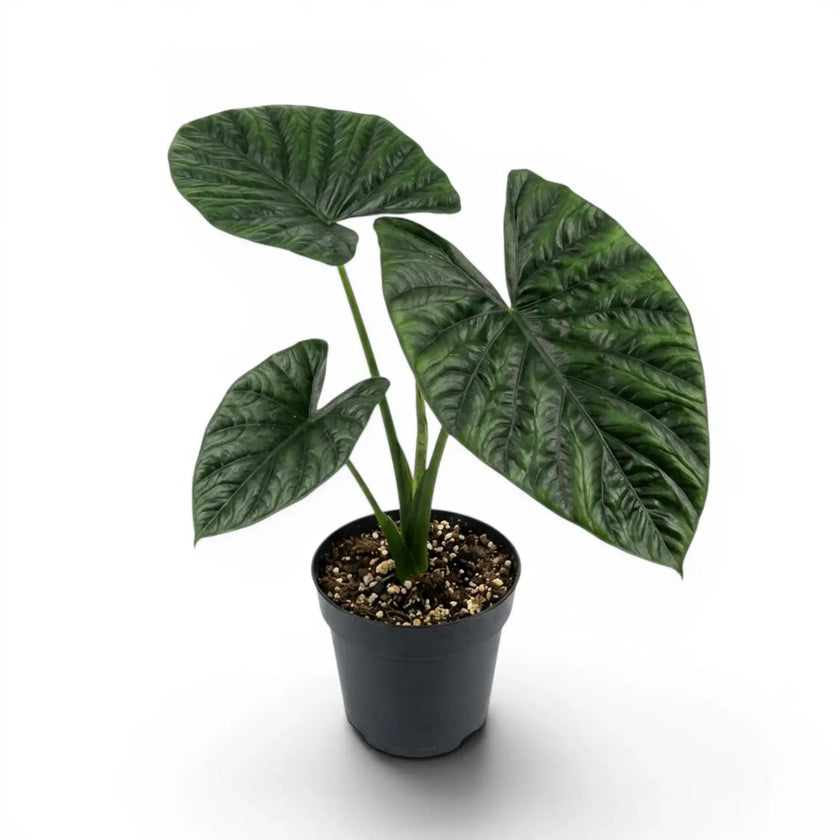
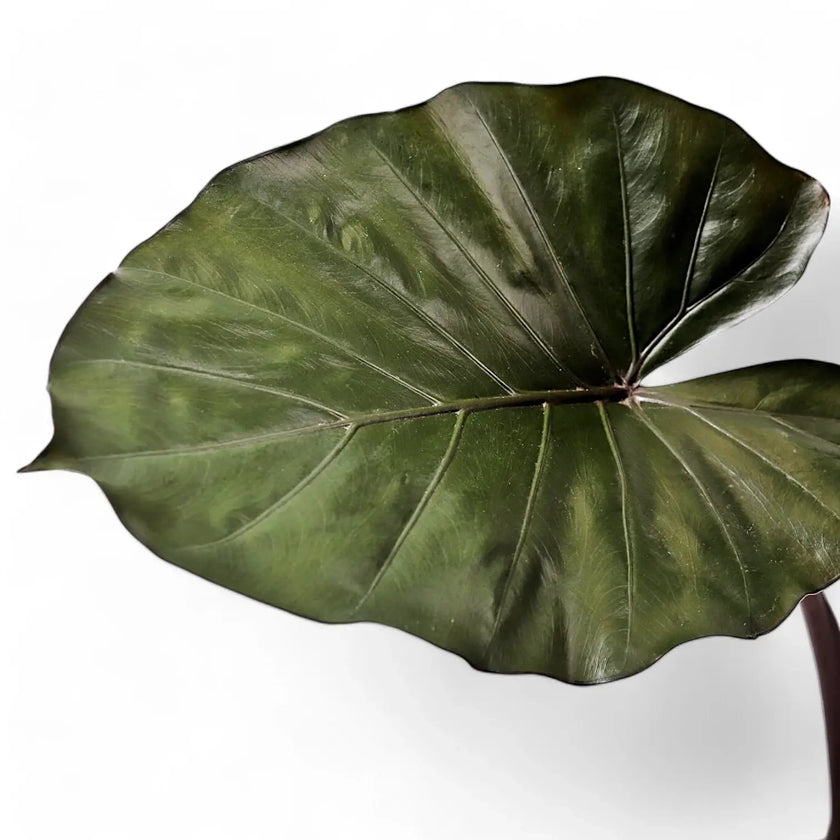
Leaf shape overlap is real. Colocasia is often more drooping and more clearly peltate, while many Alocasia hold leaves more upright and rigidly. That shortcut still fails often enough to cause mis-IDs, so treat “elephant ear” as a starting point and confirm with growth habit, leaf attachment, and how the plant carries itself over time.

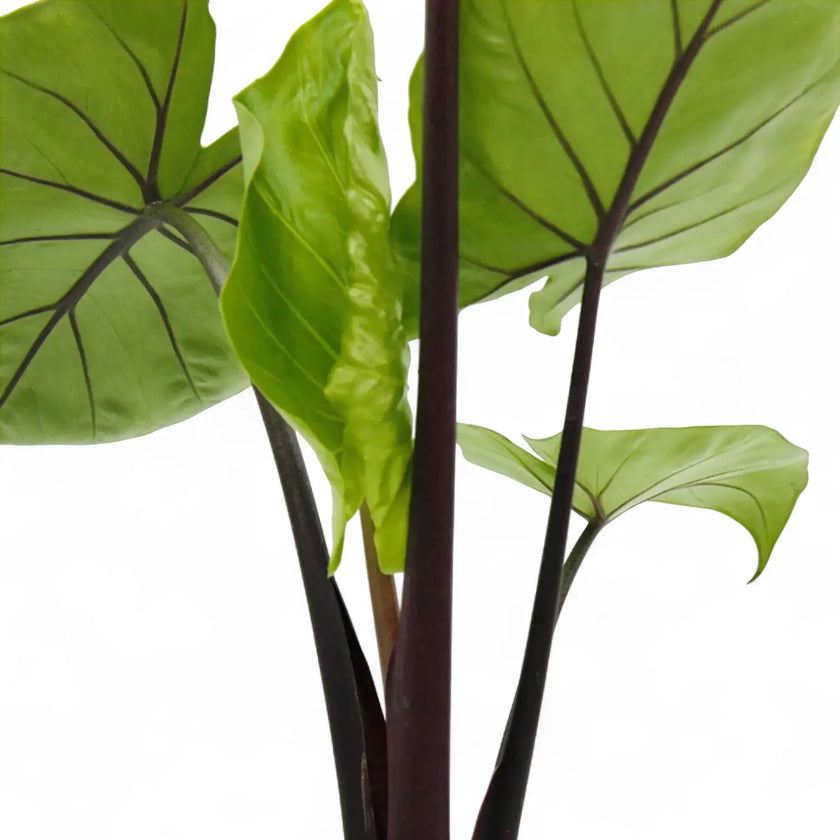
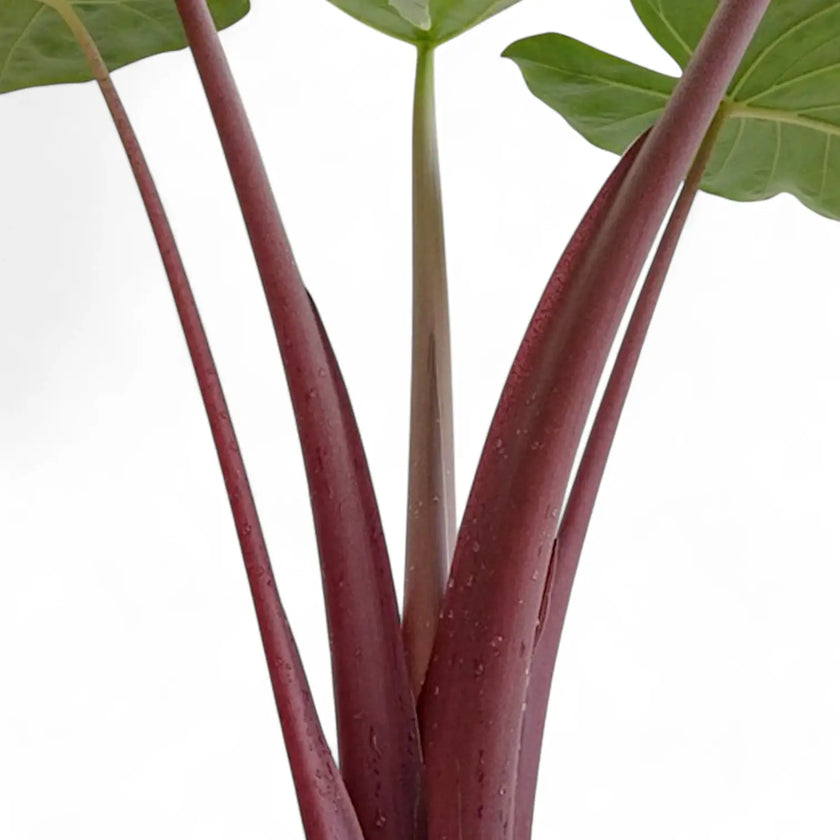
Crowns, storage tissue, and cormels

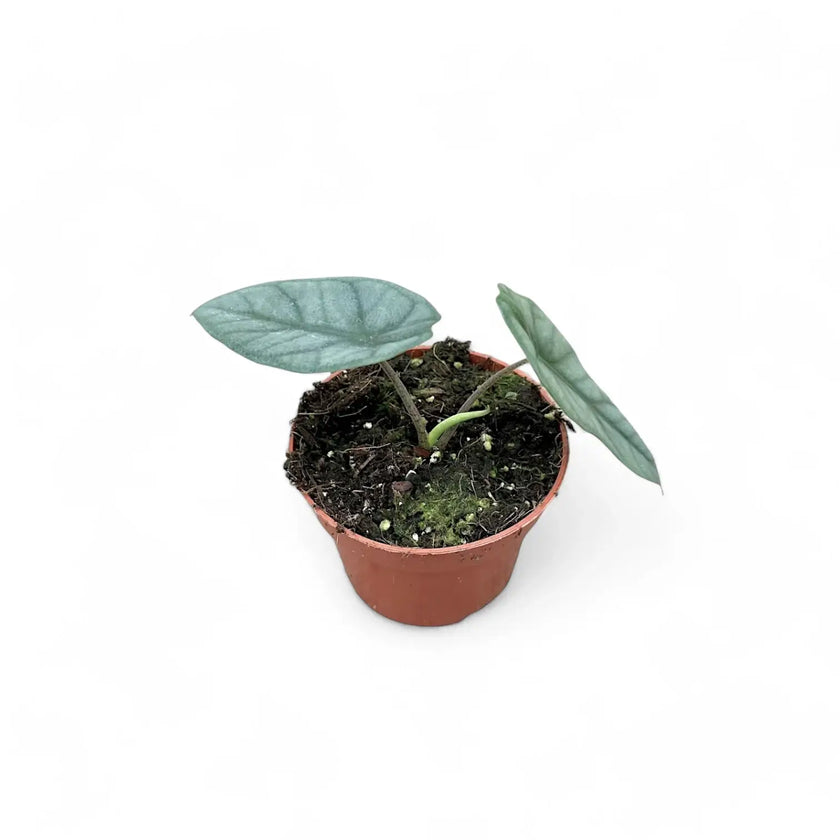
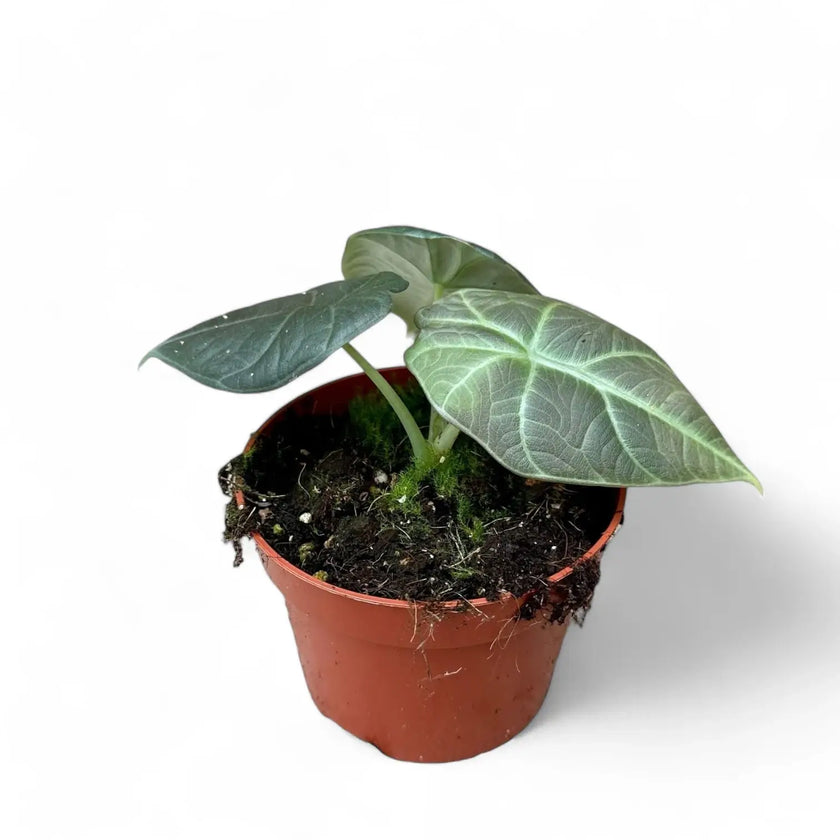
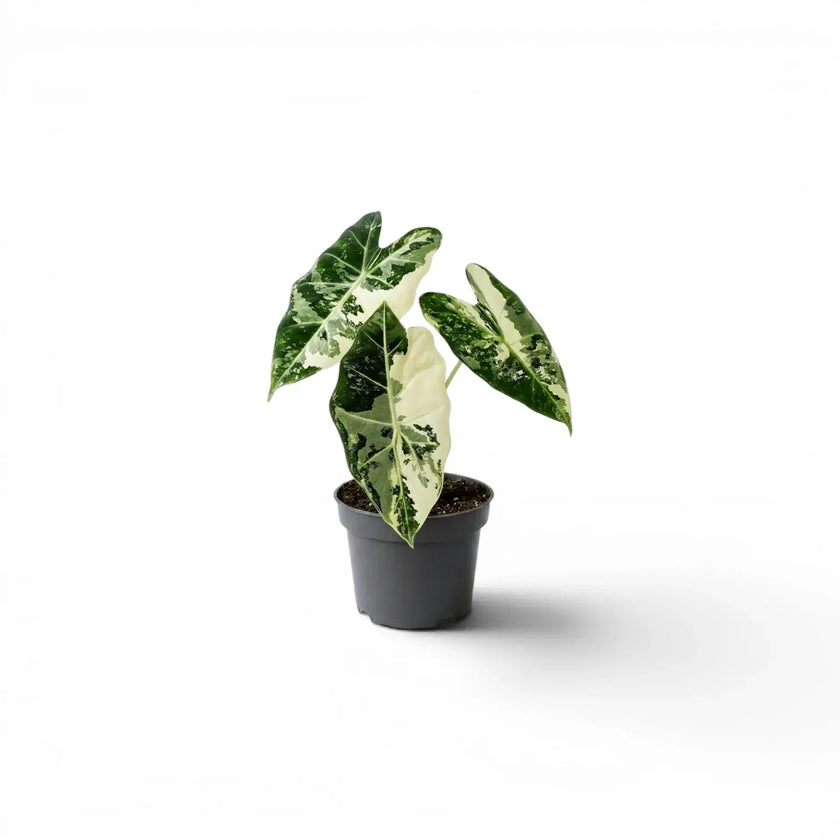
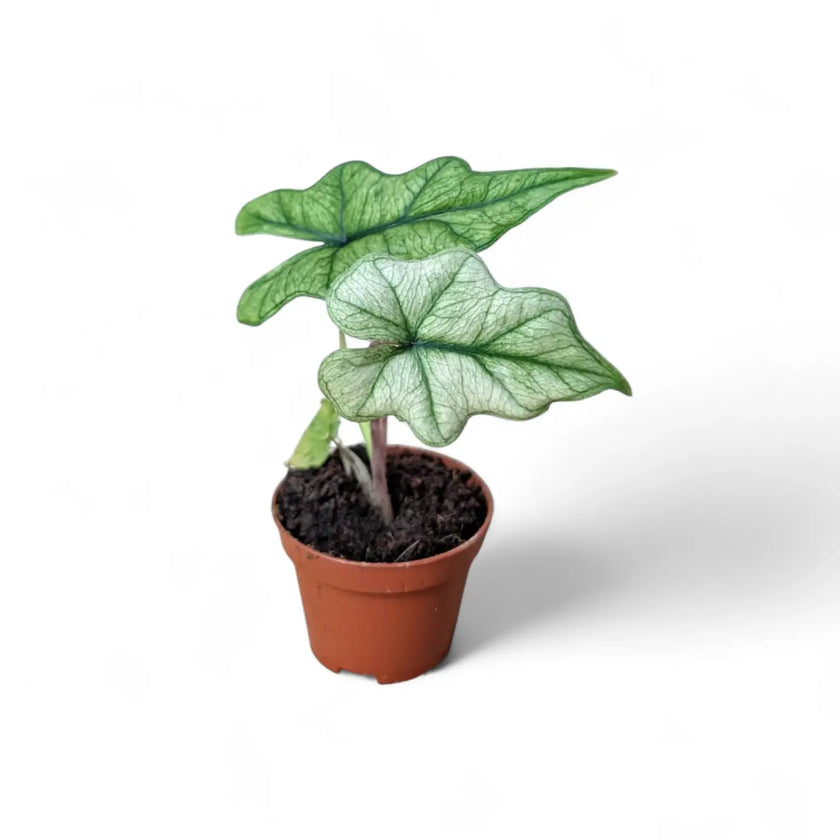
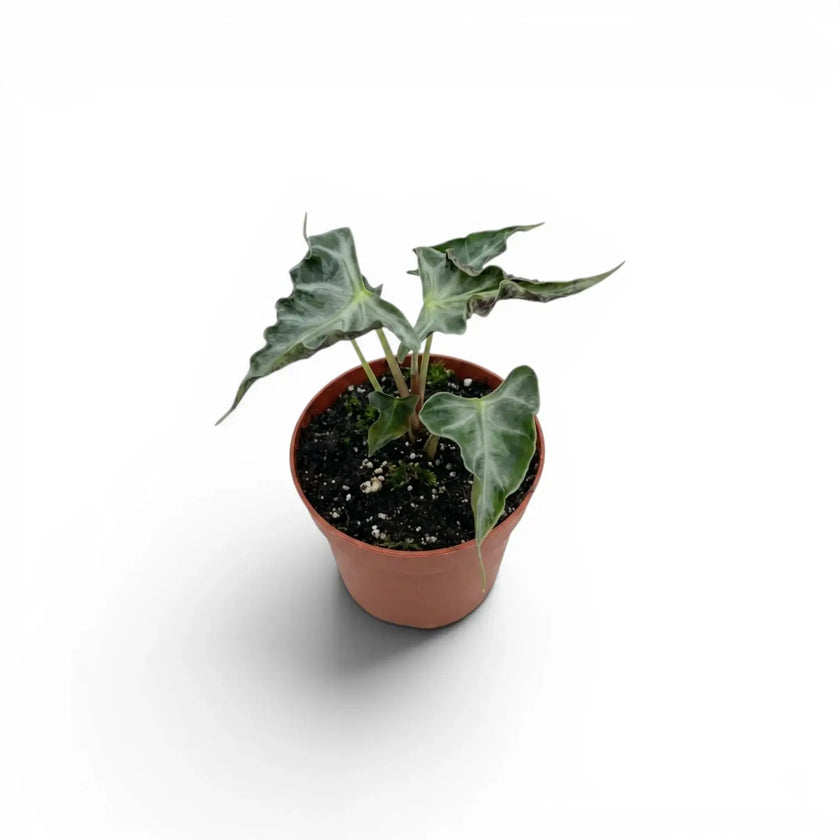
Most indoor Alocasia grow from a crown connected to thickened stem tissue at or just below substrate level. The crown is the active point where leaves and roots emerge, so it should sit at substrate line rather than being buried in wet mix.

  • Crown: active growing point; keep level with the substrate surface.
  • Storage tissue: firm thickened stem tissue that can support regrowth after stress.
  • Cormel: small storage propagule found near the base or pot edge; it needs warmth, oxygen, and controlled moisture before it roots.

Important note

Alocasia macrorrhizos has documented food use in parts of its cultivated range when prepared correctly. Raw tissue is acrid and irritating because of insoluble calcium oxalate crystals. Do not treat this as general Alocasia edibility.

Close-up of Alocasia leaf with strong pale veins and dark green surface
Indoor-grown Alocasia leaves showing vein detail and upright growth

Alocasia: Botanical Snapshot

  • Genus: Alocasia (Schott) G.Don, first published in 1839
  • Family: Araceae
  • Diversity: around 90 accepted species, depending on taxonomic treatment
  • Native range: tropical and subtropical Asia to eastern Australia
  • Growth form: mostly terrestrial herbaceous perennials with thickened stem tissue and a crown growth point
  • Flowers: a spadix enclosed by a spathe; usually not the main reason Alocasia is grown indoors

Native habitat → indoor behaviour

  • Moist native habitats do not translate to stagnant indoor substrate; roots still need air.
  • Warmth and moving air make regular moisture safer.
  • Lower indoor light slows water use, so potting mix can stay wet longer than expected.

📌 Full guide: structures, habitats, rot triage

Alocasia with silvery textured leaves growing indoors

Quick ID check when labels are messy

If the name feels shaky, lean on visible traits rather than a single pot tag:

  • Growth habit: tight crown/rosette vs trunking/treelet vs sprawling base
  • Leaf attachment: clearly peltate vs slightly peltate; posterior lobes fused or separate
  • Texture/thickness: thin and fast-growing vs thick and slower
  • Petioles: smooth vs textured; striping can help, but it is rarely definitive alone
  • New growth pattern: steady leaf production vs longer pauses with a firm base

If ID stays uncertain, build care around fundamentals that keep most Alocasia viable: measured light, oxygen around roots, stable warmth, and a predictable moisture rhythm.

Alocasia with elongated textured leaves growing indoors

What to Expect from Alocasia Indoors

Alocasia earns its collector status because leaf texture, venation, sheen, colour, and scale vary widely across the genus. Indoor behaviour varies too: compact jewel types, upright mid-sized plants, and large upright growers do not all use space or water the same way.

Expect rhythm rather than constant performance. Many Alocasia grow in bursts, pause after a move or repot, and carry only as much foliage as the current roots and light can support.

Use changes in leaf size, petiole strength, drying speed, and base firmness as early signals. They tell you more than a calendar schedule ever will.

📌 Full guide: cycling vs pause vs decline

How to Choose the Right Alocasia for Your Space

Start with what your space can reliably provide: usable light, winter temperature, clearance around mature leaves, and how quickly pots dry after watering. Then choose an Alocasia size group that still fits those limits when mature.

Fast match

  • Compact bright spot: jewel types such as Alocasia reginula, Alocasia baginda, and other smaller textured forms.
  • Bold foliage without huge scale: Alocasia ‘Polly’, Alocasia micholitziana ‘Green Velvet’, and Alocasia zebrina.
  • Bright open position: larger growers such as Alocasia odora, Alocasia macrorrhizos, and Alocasia ‘Yucatan Princess’.
  • Better to avoid: distant ambient light, cold windowsills, cold floors in winter, very slow-drying pots, or pets that chew plants.

Browse Alocasia plants


Large green leaves of Alocasia macrorrhizos with a blurred natural background in natural light

1. Check usable light first

Begin with the brightest position you can offer long-term. If that spot is limited, choose Alocasia that can stay there as it matures rather than buying a plant that will outgrow its only workable position.

  • Is there one genuinely bright place close to a window or under a strong grow light?
  • Can Alocasia stay near that light source year-round?
  • Does the pot still dry at a workable pace in darker months?
  • Does the pot sit cold near glass or on a cold floor?

Weak light slows uptake, shrinks new leaves, and keeps pots wet longer. That combination is a common reason Alocasia declines even when a room looks bright to us.

2. Buy for mature size, not nursery pot size

A small pot only tells you Alocasia is young. It does not tell you how much space the plant will claim once roots are active and leaves start sizing up. Use mature footprint as the deciding factor, then choose the leaf shape and colour you like within that size class.

Compact / jewel Alocasia

Often stays around 20–45 cm indoors with a similar spread. High texture and detail in a small footprint, but not the easiest group.

Mid-sized Alocasia

Often lands around 45–90 cm indoors, sometimes wider once mature leaves extend beyond the pot. This is the most workable scale for many homes.

Large Alocasia

Large growers can reach roughly 1–1.5 m indoors over time and spread broadly. They need bright floor space, real clearance and predictable drying.

3. Match the plant to daily stability

Stable conditions matter more than rarity. Choose more conservatively if temperatures swing, winter light drops sharply, or the brightest spot is limited.

  • Compact types: best when Alocasia needs to stay close to light and you want texture without a large spread.
  • Mid-sized types: best where there is a bright surface or open floor area close to the light source.
  • Large types: need clearance above and around leaves, plus light across the canopy.

Shop Alocasia plants

Alocasia Size Groups and Examples

Use these groups as a practical indoor guide. Final size depends on species or cultivar, light, warmth, root health, pot volume, and how long the plant has been established.

Small / Jewel Alocasia

As a rough indoor guide, this group often stays around 20–45 cm tall, sometimes wider than expected when mature leaves sit on spreading petioles.

Examples: Alocasia reginula ‘Black Velvet’, Alocasia baginda ‘Dragon Scale’, Alocasia melo.

This is the most compact Alocasia size class, but not necessarily the easiest. Jewel types usually grow more slowly, carry fewer leaves at once, and can react quickly to cold, wet substrate, low light, or unstable humidity.

Alocasia baginda 'Dragon Scale' plant photo

Alocasia baginda 'Dragon Scale' — Thick, textured leaves and a slower, compact rhythm. It suits measured watering, a breathable mix, and warmth around the pot rather than humidity alone.

Alocasia micholitziana 'Green Velvet' plant photo

Alocasia micholitziana 'Green Velvet' — Velvet texture with a mid-sized footprint. Strong filtered light helps new leaves size up well and keeps petioles more compact.

Alocasia 'Polly' plant photo

Alocasia 'Polly' — Mid-sized, high-contrast Alocasia with sharp veining. Keep it close to a real light source and make sure the tight crown stays visible above the substrate.

Alocasia macrorrhizos plant photo

Alocasia macrorrhizos — Large-scale potential indoors under strong conditions. It needs a position where a big root system can use water actively and the canopy has room to expand.

Alocasia 'Yucatan Princess' plant photo

Alocasia 'Yucatan Princess' — Large, dark-stemmed statement type with a strong silhouette. Choose it only where mature leaves can spread without being cramped.

Alocasia reginula 'Black Velvet' plant photo

Alocasia reginula 'Black Velvet' — Compact velvet jewel type with dark leaves and bright veining. Keep it in a modest pot, with the crown visible and steady warmth around the roots.

Alocasia baginda 'Silver Dragon' plant photo

Alocasia baginda 'Silver Dragon' — Compact silver-toned form with sculpted texture. Use a small, free-draining pot setup where moisture stays even but never heavy.


Mid-sized Alocasia

As a rough indoor guide, this group often lands around 45–90 cm tall, sometimes wider when mature leaves extend well beyond the pot.

Examples: Alocasia 'Polly', Alocasia micholitziana 'Green Velvet', Alocasia zebrina.

This is often the most realistic size class for many homes: strong structure without going truly huge. The trade-off is that these still need usable light and stable warmth to hold balance.

Alocasia zebrina plant photo

Alocasia zebrina — Long-petioled, upright growth with real clearance needs. Give the leaves room to spread so the plant does not press against walls or neighbouring plants.


Large Alocasia

Large growers can reach roughly 1–1.5 m indoors over time and may spread broadly once established, with much greater size possible in greenhouse-like conditions.

Examples: Alocasia 'Yucatan Princess', Alocasia odora 'California', Alocasia macrorrhizos.

Choose this group only when there is bright floor space and real clearance around foliage. Large Alocasia needs light across the canopy, steady warmth, and a root zone that can support active water use without turning stagnant.

Alocasia odora 'California' plant photo

Alocasia odora 'California' — Large grower with a bold tropical shape. A stable pot and structured mix help the root zone stay evenly moist without turning heavy at the base.

Alocasia Care Basics

Alocasia Care Basics Indoors

A reliable Alocasia setup starts with bright usable light, warm roots, structured substrate, and watering that follows drying speed. Each part supports the others: strong light helps only when roots can breathe, and humidity helps most when warmth and airflow are also stable.

Steady growth usually looks like this

  • Petioles stay firm enough to hold leaves without flopping or stretching.
  • New leaves open to a reasonable size instead of shrinking every round.
  • The pot dries at a predictable pace because roots are active and the mix still has structure.
  • Leaf loss stays mostly at occasional turnover, not repeated multi-leaf decline.

After arrival: first checks

  • Place Alocasia warm and bright, away from sudden harsh sun after shipping.
  • Check drying speed before repotting; a new plant does not automatically need a new pot.
  • Repot sooner if the mix smells sour, the crown is buried, the pot stays wet too long, or roots are clearly failing.
  • Judge recovery by crown firmness and new growth rather than by one ageing leaf.

Light: close, bright, consistent

Alocasia usually performs best in bright filtered light or under strong grow lights, not across the room in general brightness. Light affects leaf size, petiole strength, and how actively the plant uses water.

  • Baseline: keep Alocasia as close to the light source as practical and safe.
  • If measuring helps: 10,000–30,000 lux at leaf level is a useful starting range for many indoor types, then adjust by response.
  • Acclimate: avoid sudden hot midday sun through glass if the plant was not raised in it.

🚩 Red flags: stretching petioles, smaller new leaves, leaning growth, or long pauses in otherwise warm conditions.

📌 Understanding Window Orientations and Houseplants and How Much Light Is “Bright Indirect”?

Light

Light: close, bright, consistent

Alocasia usually performs best in bright filtered light or under strong grow lights, not across the room in general brightness. Light affects leaf size, petiole strength, and how actively the plant uses water.

  • Baseline: keep Alocasia as close to the light source as practical and safe.
  • If measuring helps: 10,000–30,000 lux at leaf level is a useful starting range for many indoor types, then adjust by response.
  • Acclimate: avoid sudden hot midday sun through glass if the plant was not raised in it.

🚩 Red flags: stretching petioles, smaller new leaves, leaning growth, or long pauses in otherwise warm conditions.

📌 Understanding Window Orientations and Houseplants and How Much Light Is “Bright Indirect”?

Watering

Watering: moisture + oxygen

Alocasia likes a root zone that stays lightly moist while still breathing. Two extremes cause most trouble: cool wet substrate, or repeated swings from hard dry-down to heavy rescue watering.

  • Active growth: water when the top 15–25% of pot depth is dry.
  • Growth pause with firm crown: wait until roughly the top 25–35% has dried.
  • How to water: soak and drain fully, then discard runoff.
  • Adjust: timing changes with light, temperature, airflow, pot size, and root mass.

🚩 Red flags: wet-wilt, heavy pot for too long, sour smell, repeated edge burn after dry/wet swings.

📌 Watering Houseplants: The Ultimate Guide

Substrate

Substrate: even re-wetting, stable structure

A working Alocasia mix re-wets evenly, holds some moisture, and keeps air spaces open long enough for roots to breathe between waterings. The goal is not “as chunky as possible”; it is moisture with structure.

  • Good direction: airy, re-wettable, moisture-retentive, and not easily compacted.
  • Too dense: fine or collapsed mix can stay damp at the base and reduce oxygen around roots.
  • Too coarse: roots can dry unevenly, especially in warm conditions or small pots.
  • Decision cue: if the pot stays wet for many days, check pot volume, root mass, substrate structure, light, and temperature together.

🚩 Red flags: water runs through while the root ball stays unevenly dry, persistent sour smell, or drying times that keep getting slower.

📌 Full Aroid Substrate Guide

Pot & Repotting

Pot size & repotting: follow roots, not leaves

Alocasia can carry a big leaf span over a modest root system. A larger pot is useful only when roots can actually use the extra volume.

  • Baseline: size the pot to roots and drying behaviour, not canopy width.
  • Crown placement: keep the growth point at substrate line and avoid burying petiole bases.
  • Repot when: mix breaks down, roots truly fill the pot, watering becomes hard to manage, or nursery media forms a wet core.
  • Wait when: the plant is firm, the pot dries sensibly, and there is no sour smell or buried crown.

🚩 Red flags: yellowing after a size jump, stale lower mix, unstable root ball, or buried crown from repeated top-ups.

📌 Repotting Houseplants: A Complete Guide

Warmth

Temperature: a warm root zone keeps everything easier

Alocasia is warm-growing. Some failures that look like watering mistakes start with a cool root zone: uptake slows, substrate dries more slowly, and damaged roots are easier to lose.

  • Baseline: keep pots away from cold floors, cold glass, and repeated drafts.
  • Active growth: many types are steadier around 18–28 °C.
  • Risk zone: prolonged 16–18 °C or lower is riskier when substrate is damp.
  • Watch the pot zone: the room can feel fine while the root ball runs much cooler.

🚩 Red flags: sudden slowdown with slow drying, yellowing after cool nights, collapse after cold damp periods.

📌 Winter Houseplant Care Guide

Humidity & Airflow

Humidity & airflow: better leaf expansion, fewer surface issues

Higher humidity can support cleaner unfurling and softer margins, especially on velvet and thick-leaf types. Air movement matters alongside humidity because still, damp leaf surfaces are more likely to spot.

  • Baseline: aim for reasonably humid air with gentle movement, not sealed stagnation.
  • Useful range: many common types manage around 50–65%; compact jewel types often appreciate higher humidity if air moves well.
  • Skip misting as a strategy: it wets leaves far more than it raises room humidity.
  • Cabinets and vitrines: useful only when warmth, hygiene, and ventilation are managed.

🚩 Red flags: leaves sticking or tearing while opening, recurring spotting in still air, or mites building fast in warm dry conditions.

📌 Humidity for Houseplants: A Practical Guide

Feeding

Feeding: steady, light, only in active growth

Fertiliser helps when growth is active and roots are functioning. Under weak light, a cool root zone, or damaged roots, feeding usually raises salt load without fixing the underlying problem.

  • Baseline: feed only while the plant is actively producing growth.
  • Better rhythm: lighter regular feeding is safer than rare heavy doses.
  • Flush occasionally: this helps reduce buildup from fertiliser and hard water.
  • Back off: when growth stalls, water use drops, or roots are damaged.

🚩 Red flags: white crust on mix or pot rim, brown margins after repeated feeding, “stuck” growth despite inputs.

📌 Best Fertilizer for Houseplants

After Arrival

Acclimation: settle first, then adjust

Alocasia often reacts to a move even when it arrives healthy. Early stability beats stacking interventions, so make the first days about observation and controlled conditions.

  • Baseline: bright stable light, steady warmth, and moisture checks based on the actual pot.
  • Hold repotting: if the plant is firm, the mix dries sensibly, and the crown is not buried.
  • Repot sooner: if the pot stays wet for too long, the mix smells sour, the base softens, or nursery media forms a wet core.

🚩 Red flags: several leaves declining together, base tissue softening, sour odour, or wet wilt after arrival.

📌 Houseplant Acclimation Guide

Growth Pauses

Dormancy: pause does not equal dead

Some Alocasia slow down hard when light drops, temperatures cool, or roots are stressed. Leaf loss and a long pause can still be recoverable if storage tissue stays firm.

  • Firm crown: reduce watering only because the pot dries more slowly; let the top 25–35% dry before watering again.
  • Stop feeding: wait until new growth resumes clearly.
  • Keep warm: cool damp substrate is the high-risk combination.
  • Do not force dryness: a resting Alocasia still needs controlled moisture, not drought by calendar.

🚩 Red flags: soft base tissue, sour odour, rapid collapse while the pot stays wet.

📌 Houseplant Dormancy Explained

Semi-Hydro

Semi-hydro: useful when conditions are stable

Alocasia can do well in semi-hydro and other inert systems when warmth, light, nutrient balance, and hygiene stay consistent. Semi-hydro does not change what Alocasia needs; it changes how mistakes show up.

  • Baseline: transition during active growth, keep the crown above the wet zone, and keep reservoirs warm.
  • Clean transition: remove old organic media carefully so hidden pockets do not rot.
  • Manage nutrients: use a complete fertiliser and flush periodically.
  • Avoid rescue switches: stalled or collapsing plants rarely transition well.

📌 Transition from Soil to Semi-Hydro Guide

Safety

Safety: not pet-safe

Alocasia contains insoluble calcium oxalate crystals. Chewed plant tissue can irritate the mouth, tongue, throat, skin, and eyes.

  • Placement: keep out of reach of pets and children likely to chew plants.
  • Possible symptoms: mouth pain, drooling, swelling, vomiting, or pawing at the mouth after chewing.
  • Handling: wear gloves for messy work; wash hands and tools afterward.
  • After ingestion: contact a vet, poison centre, or medical professional if symptoms appear.

📌 Houseplants Safe for Cats Guide

Troubleshooting Alocasia: Read the Pattern, Then Act

Most Alocasia problems fall into a few patterns: root oxygen stress, light and watering mismatch, cool roots, salt load, pests, or leaf-surface disease. Similar leaf symptoms can come from opposite causes, so diagnosis matters more than quick treatment.

  • Start at the base: firm storage tissue supports recovery; soft, hollow, or sour-smelling tissue points to decay.
  • Check drying speed: a pot that stays wet too long changes the whole diagnosis.
  • Inspect new growth: thrips damage often shows there before older leaves look obvious.

📌 Full guide: rot triage and deeper fixes

When to unpot immediately

Unpot Alocasia quickly if leaves collapse while the pot is wet, the base feels soft, the mix smells sour, or petioles fail rapidly from the crown. Waiting in wet media can make decay worse.

  1. Remove the plant from the pot and rinse enough media away to see roots and crown tissue.
  2. Cut away soft, hollow, black, slimy, or sour-smelling tissue with a clean blade.
  3. Keep only firm crown or storage tissue.
  4. Let cuts dry briefly in warm air.
  5. Restart in a small pot with airy, lightly moist substrate and the crown at surface level.
  6. Keep warm and bright, but hold fertiliser until new growth or root activity returns.

Practical pest response

Isolate first, then identify the pest before choosing treatment. Rinse or wipe what you can, remove badly damaged leaves where appropriate, and repeat treatments in cycles because mites and thrips have hidden life stages. Use labelled indoor-plant products correctly, and be cautious with oily sprays on velvet Alocasia because leaf surfaces can mark.

Yellowing Alocasia leaf close-up

Leaf drop, pauses, and growth cycles

Leaf loss can look dramatic and still be recoverable. The useful question is whether the plant is cycling, pausing, or breaking down.

Check the base before judging the top growth. Firm storage tissue gives Alocasia a restart point; soft, hollow, or sour-smelling tissue changes the situation from a pause into a decay problem.

Alocasia with leaf loss and drooping stems in a white pot

Alocasia Symptom Checks

Use the visible pattern to decide what to inspect first. Check pot moisture, crown firmness, newest growth, leaf undersides, and recent changes before changing several things at once.

New leaves stuck, twisted, torn, or distorted

Check for thrips early. Feeding on developing tissue can show as silver scarring, black specks, and misshapen new growth. Dry air and moisture swings can also cause poor unfurling, but pests are worth ruling out first when damage repeats on new leaves.


One oldest leaf turning yellow

Usually harmless when the rest of the plant is firm and a new leaf is forming. Watch the next leaf and the base before making major changes.


Several leaves yellowing at once

This is no longer simple turnover. Check pot size, substrate structure, temperature around the root ball, and root health first.


Leaves drooping or collapsing

Use the pot and base to separate dry wilt from wet wilt. A heavy wet pot with limp leaves often means roots are not taking up water properly; a very light dry pot points in the opposite direction.


Brown tips or brown edges

Common drivers include salt buildup, repeated dry/wet swings, harsh light without acclimation, or general root stress. Read margins alongside pot drying speed and overall vigour.


Fine pale stippling, bronzing, dusty-looking leaves, or webbing

These are classic spider mite warning signs. Check leaf undersides closely and treat as a repeated cycle, not a one-off wipe.


White cottony clusters in axils, sheaths, or around drainage holes

Think mealybugs, including root mealybugs. Check crown crevices, then inspect the root zone if decline does not match light and watering logic.


Soft black roots, mushy base, or foul smell

Treat this as rot until proven otherwise. Stop watering, unpot, inspect roots and crown, and cut back to firm tissue. Recovery depends on whether a viable growth point remains.


Unusual mottling, rings, streaks, or persistent distortion

Virus is possible, though uncommon. If patterns repeat and pests, roots, and nutrition do not explain them, isolate the plant from healthy stock while assessing.


Water-soaked dark spots, translucent patches, or yellow halos

Think leaf spot early when damage looks wet, greasy, sharply edged, or translucent rather than dry and papery. Improve air movement, avoid keeping leaves wet, and check whether the pot is staying wet too long.


How to Propagate Alocasia

Alocasia propagation depends on a living growth point. For home growers, three routes cover nearly everything: division, offsets (pups), and firm corms or cormels found during repotting. Leaves do not carry a viable growth point for Alocasia, so leaf cuttings do not work.

Best results come from warm, stable conditions and stock that is already growing. Propagation works poorly as a rescue move for stalled, cool, or rotting plants.

Alocasia with textured variegated leaves used as propagation context
Alocasia corms and cormels prepared for propagation

Before you start

  • Propagate only when Alocasia is actively growing and conditions are warm and bright.
  • Aim for steady warmth around 22–26 °C for divisions and offsets.
  • For corms or cormels, warmth around 25–28 °C is usually more reliable.
  • Wear gloves; sap can irritate skin and eyes.
  • Use a clean, disinfected blade and clean pots with drainage.
  • Keep new pieces in small pots so fresh roots are not surrounded by excess wet volume.
  • Skip propagation if the base is soft, hollow, or sour-smelling.

How to propagate Alocasia by division

Use division only on established plants with multiple crowns, meaning separate growth points with roots attached to each crown.

💡 Division example

You unpot a mature plant and find two crowns that can be separated, each with its own roots. That plant can be divided. If everything leads back to one crown, leave it intact.

✓ Division steps

  1. Unpot the plant.
  2. Remove enough substrate to see crowns and roots clearly.
  3. Find the natural split so each section keeps a growth point and roots.
  4. Cut cleanly between sections with a disinfected blade.
  5. Pot each division into a small pot with fresh, airy mix.
  6. Set each piece at the same depth as before; keep the growth point at substrate line.
  7. Water lightly to settle the mix, then let the next watering follow how quickly the pot dries.
  8. Keep warm and bright; steady warmth around 22–26 °C helps recovery.
  9. Hold fertiliser until new growth restarts.

➜ Division aftercare

Keep the mix lightly moist, not wet. A pause is normal after division. Do not keep lifting the plant to check rooting.

Division

How to propagate Alocasia by division

Use division only on established plants with multiple crowns, meaning separate growth points with roots attached to each crown.

💡 Division example

You unpot a mature plant and find two crowns that can be separated, each with its own roots. That plant can be divided. If everything leads back to one crown, leave it intact.

✓ Division steps

  1. Unpot the plant.
  2. Remove enough substrate to see crowns and roots clearly.
  3. Find the natural split so each section keeps a growth point and roots.
  4. Cut cleanly between sections with a disinfected blade.
  5. Pot each division into a small pot with fresh, airy mix.
  6. Set each piece at the same depth as before; keep the growth point at substrate line.
  7. Water lightly to settle the mix, then let the next watering follow how quickly the pot dries.
  8. Keep warm and bright; steady warmth around 22–26 °C helps recovery.
  9. Hold fertiliser until new growth restarts.

➜ Division aftercare

Keep the mix lightly moist, not wet. A pause is normal after division. Do not keep lifting the plant to check rooting.

Offsets / Pups

How to separate Alocasia offsets

This is the easiest method when pups have already formed at the base. Separate only once the offset has roots of its own.

💡 Offset example

A pup with a couple of leaves and visible roots is ready. A small nub with no roots is better left attached.

✓ Offset steps

  1. Unpot the mother plant.
  2. Brush away substrate to see where the offset joins the base.
  3. Confirm the offset has roots of its own.
  4. Slice cleanly between offset and mother plant with a disinfected blade.
  5. Pot the offset into a small container with fresh, airy mix.
  6. Water lightly to settle the mix.
  7. Keep warm and bright in filtered light while it re-roots.
  8. Hold fertiliser until growth is clearly active.

➜ Offset aftercare

Keep slightly moist but never wet, and avoid overpotting. If the offset has no roots yet, leave it attached and wait.

Corms / Cormels

How to propagate Alocasia from corms or cormels

Use this method when you find small, firm storage propagules beside the main base during repotting. Not every Alocasia produces them regularly.

💡 Cormel example

During repotting you find firm, brown cormels near the base. Keep those. Discard anything soft, hollow, blackened, or damaged.

✓ Cormel steps

  1. Collect only firm, healthy corms or cormels.
  2. Prepare a small pot or cup with lightly moist, airy medium.
  3. Set each cormel shallowly near the surface; do not bury it deep.
  4. Keep around 25–28 °C in bright filtered light.
  5. Keep the medium lightly moist, never soaked.
  6. Vent enclosed setups regularly so warm humidity does not become stale.
  7. Leave it alone while roots and a shoot form.
  8. Once rooted and growing, move into a small pot with regular Alocasia mix.

➜ Cormel aftercare

Warmth matters more than constant wetness. Avoid stale, soaked conditions and resist digging cormels up to check progress.

Hand holding Alocasia 'Black Velvet' plant with rhizome and roots visible on a white background

What to skip

✗ Do not propagate weak or rotting plants just because they are already out of the pot.

✗ Do not cut mature plants into tiny pieces to get more plants; larger divisions recover faster.

✗ Do not pot fresh divisions or offsets into oversized pots.

✗ Do not keep new propagules cool or in drafts.

✗ Do not keep the medium soaked.

✗ Do not fertilise until growth restarts clearly.

💡 Most propagation failures come from poor timing: too few roots, too much wet medium, or fresh cuts kept cool and stale.

Alocasia FAQ