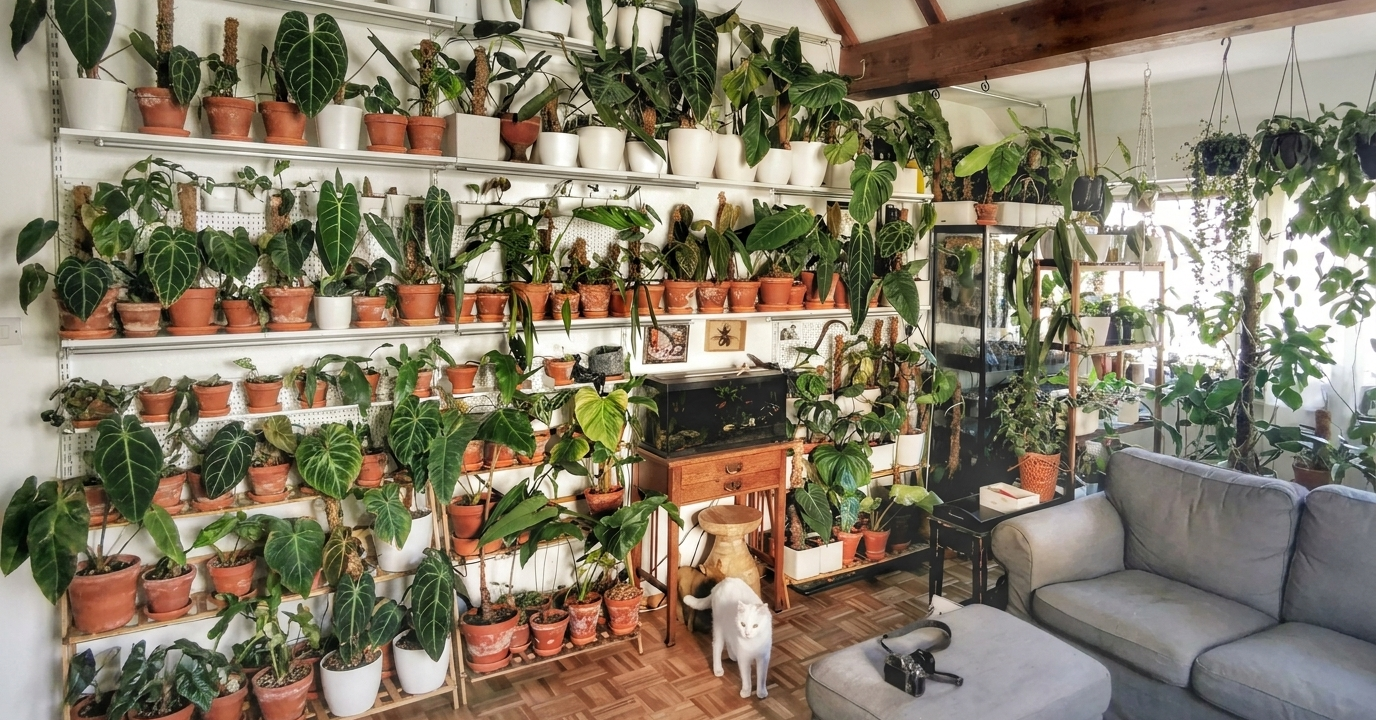

First 28 Days With Your New Houseplant
Use this step-by-step guide to help your plant settle in before repotting, feeding, pruning, or changing substrate.
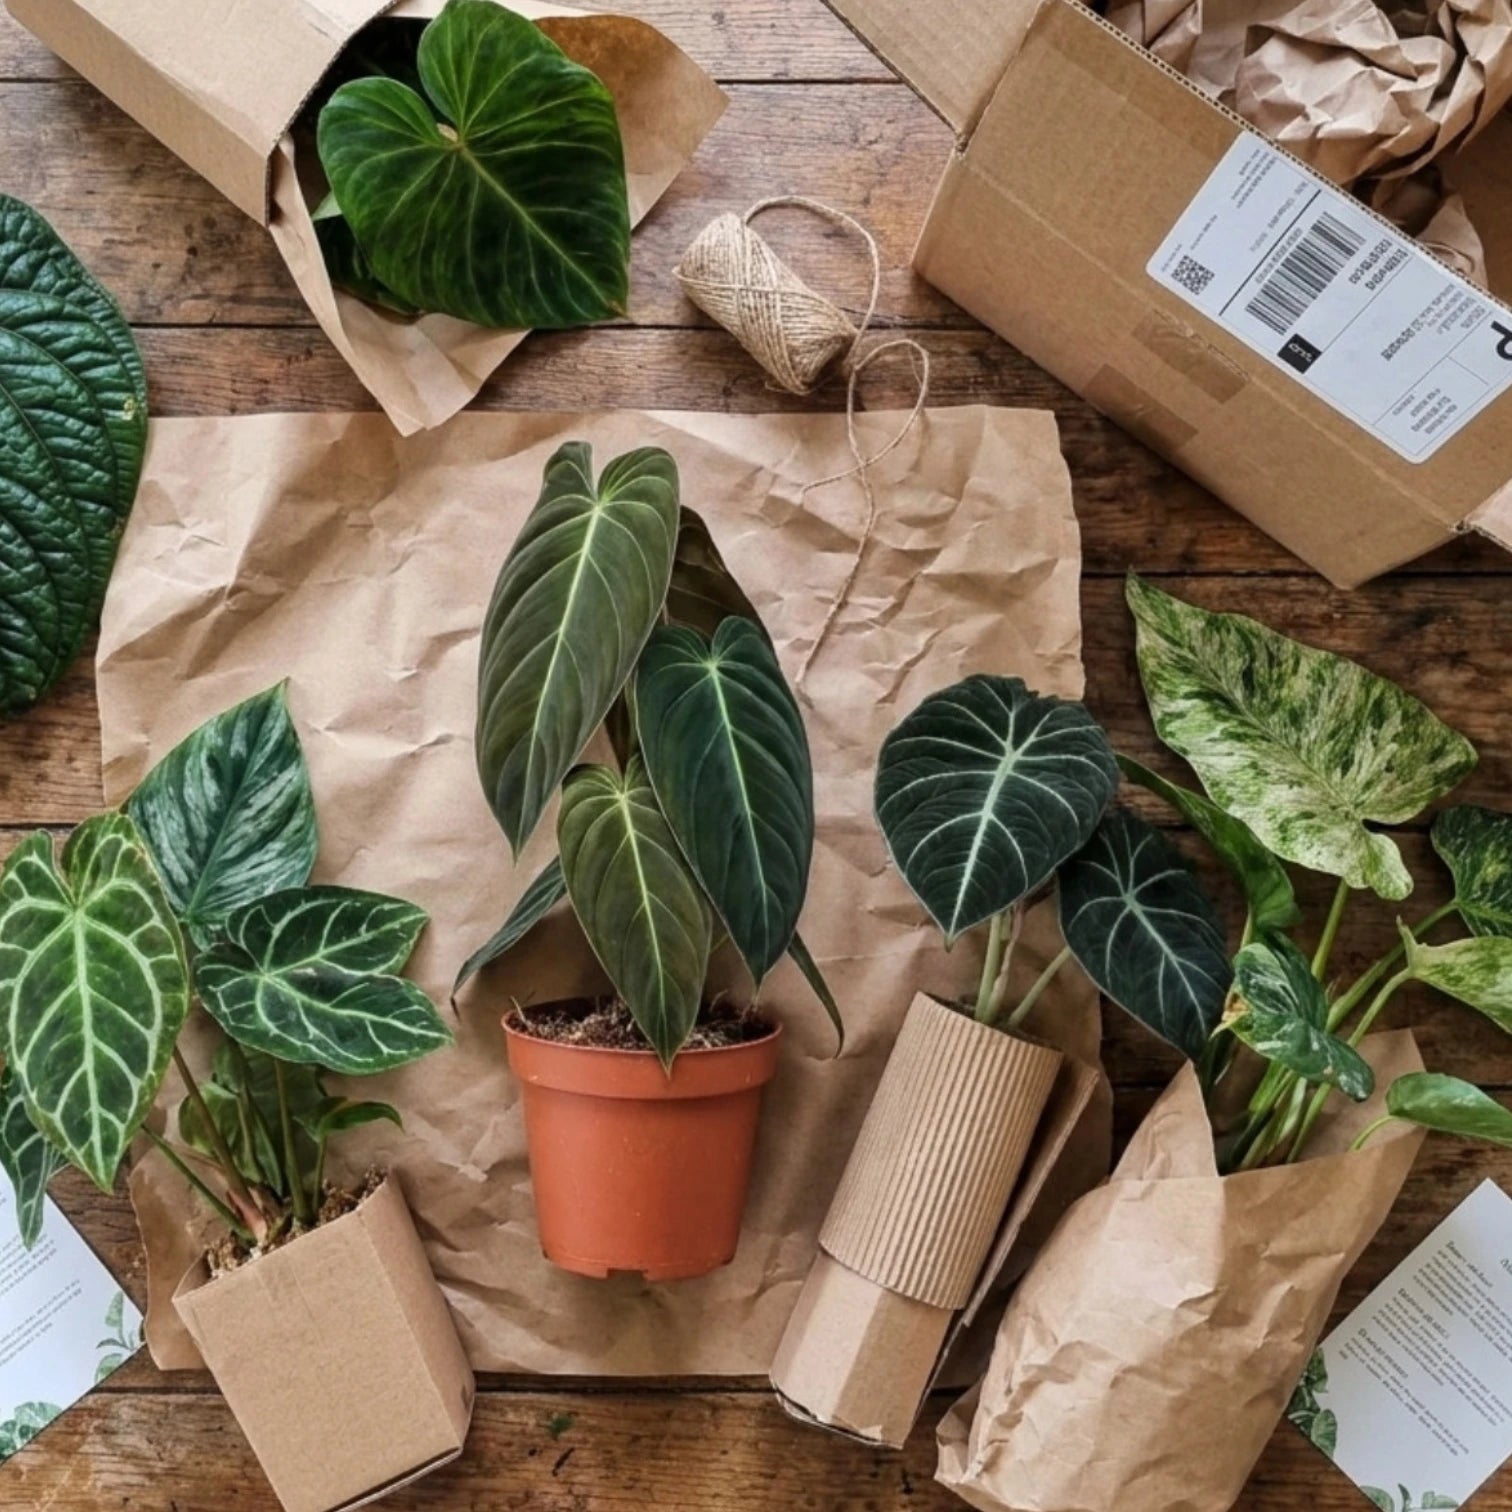
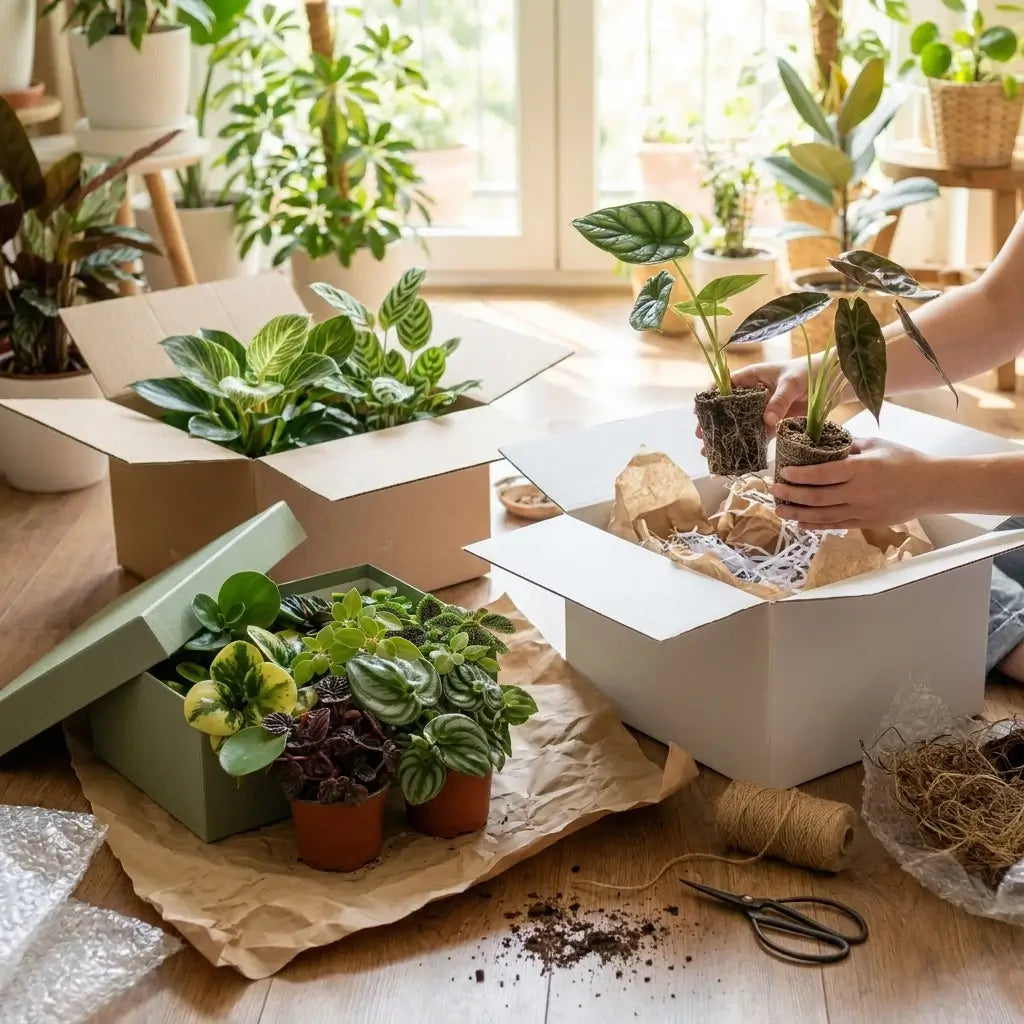
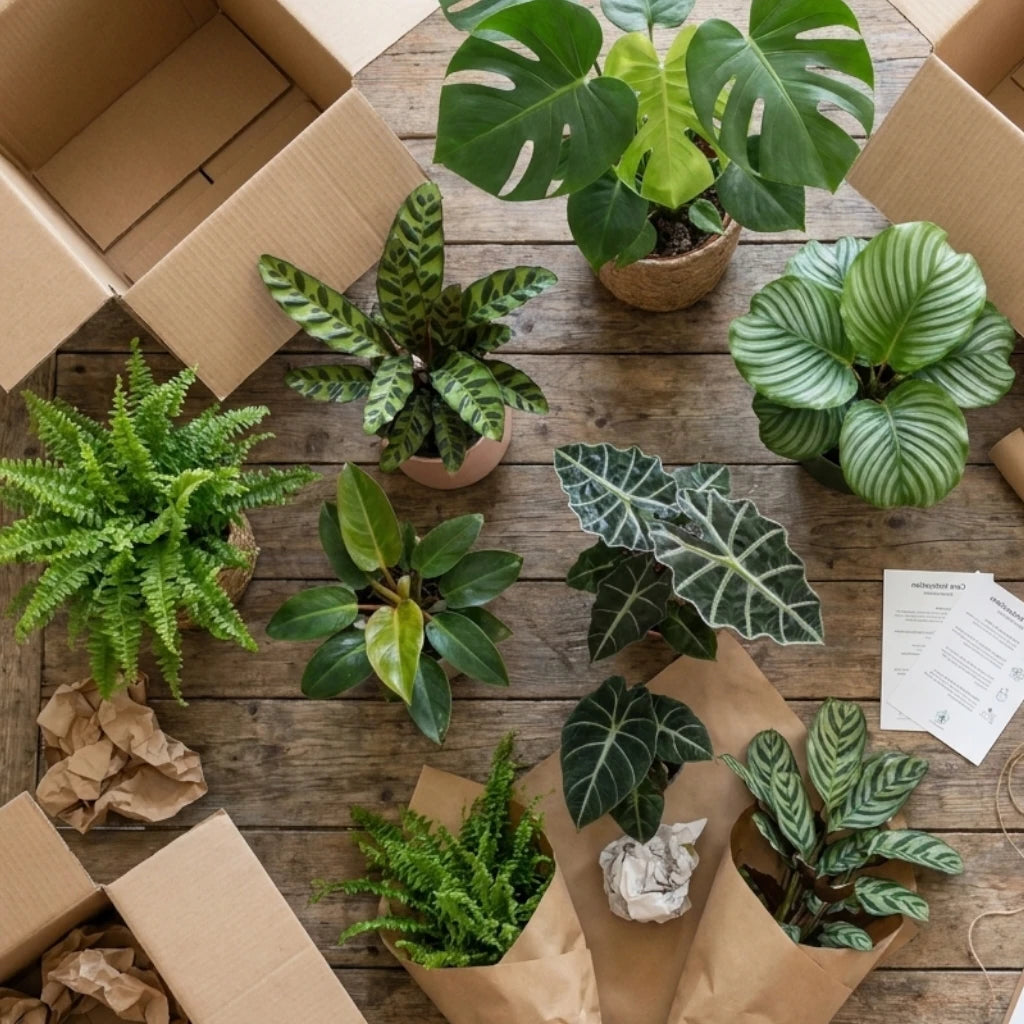
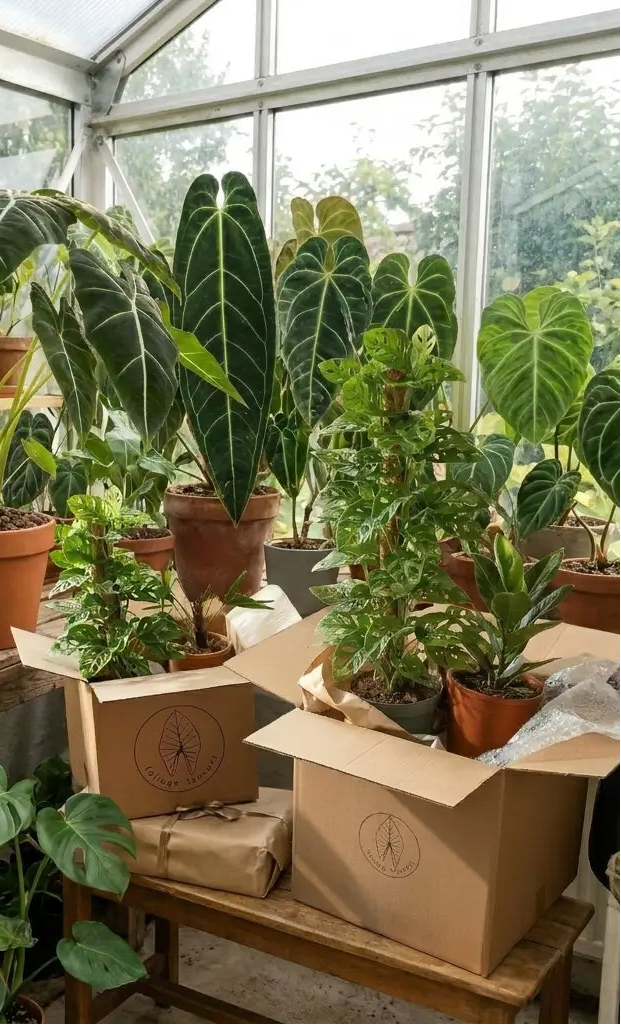
Step 1: First 10–15 Minutes — Unpack and Check
- Open the box carefully and remove padding around plant and pot. Cut tape or ties instead of pulling.
- Check that the plant label and name match your order.
- Look over leaves and stems for obvious breaks, black mushy areas, crushed tissue, or severe damage.
- Check the substrate surface for mold, unusual color, moving insects, or a strong unpleasant smell.
- Look at the drainage holes if visible. Black, slimy roots can indicate rot.
- If you see severe breakage, heavy rot, or clear pest infestation, take photos immediately while the plant is still exactly as it arrived.
- Avoid repotting, root washing, heavy pruning, or other major interventions at this stage. The goal is to stabilize, not overhaul.
Step 2: First 24–48 Hours — Light, Quarantine, and Water Check
Once your plant is unpacked, place it in bright but gentle light, close to a window with soft daylight. Avoid deep shade, harsh midday sun on bare glass, radiators, direct hot air, and cold drafts from doors or tilted windows.
Keep the new plant separate from the rest of your collection for at least 7 days. Avoid leaf-to-leaf contact and inspect new growth, leaf undersides, stems, and the substrate surface during that period.
Should I water now?
Wait before watering if:
- The pot feels medium weight, not extremely heavy and not feather-light.
- The top layer is only slightly dry while the root zone still feels lightly moist.
- Leaves are mostly firm, with only mild droop that is not getting worse.
Water now if:
- The pot feels very light and almost hollow when you lift it.
- The substrate is dry through most of the root zone, not only on the surface.
- The plant is clearly limp and does not improve after a few hours in stable conditions.
If you water, do it once and properly: water until you see a steady trickle from the drainage holes, let the pot drain fully, and empty any excess from the saucer.
Step 3: First 7 Days — Acclimatization Week
During the first week, your plant is adjusting from greenhouse conditions and transport to your home.
What you can expect:
- A pause in growth or slightly slower growth.
- A few yellow or tired older leaves.
- Minor cosmetic imperfections that do not spread.
How to care during this week:
- Keep the plant in the same general spot instead of moving it every day.
- Check moisture in the root zone regularly and water only when needed, not on a fixed calendar.
- For moisture-loving tropical foliage plants, keep substrate lightly moist with a short dry phase near the top.
- For succulents, many Euphorbia, and cacti, let substrate dry more deeply between waterings.
What not to do:
- Do not repot during this week unless we specifically advise it.
- Avoid heavy pruning unless tissue is clearly dead, rotten, or mushy.
- Do not start fertilizing immediately. Wait until the plant has settled and shows steady new growth.
If you see rapid collapse, a bad smell from substrate, or large parts of the plant turning mushy, compare the symptoms with the Is this normal? section and contact us with photos during the guarantee period.
Step 4: Days 8–28 — Build a Stable Routine
After the first few days, build a consistent care rhythm based on the plant group you are growing.
Light
- Tropical foliage plants, including many aroids, ferns, and prayer plant relatives, usually prefer bright, indirect light near a window without long exposure to harsh midday sun.
- Sun-adapted plants, including succulents, many Euphorbia, cacti, and some shrubs, can be introduced to stronger light step by step to avoid scorch on tissue grown in softer light.
- For more detail, our light guide How Much Light is ‘Plenty of Bright, Indirect Light’ EXACTLY? breaks light levels down into practical ranges.
Watering
- For moisture-loving tropical plants, let the top layer dry slightly while the deeper root zone stays lightly and evenly moist, not saturated.
- For arid and desert-adapted plants, allow more of the pot volume to dry before watering again.
- Always pour off standing water from saucers so roots are not sitting in stagnant water.
Air and temperature
- Avoid very dry, hot air directly above radiators, which can cause crispy edges and slower growth in many tropical species.
- Allow gentle air movement around plants, but avoid direct cold drafts.
- Keep sensitive tropical plants away from cold windowsills during low night temperatures.
Feeding
- Most plants do not need extra fertilizer immediately after delivery.
- Once the plant has settled and produces steady new growth, start with a dilute, balanced fertilizer suitable for that plant group.
- Additives and tonics cannot correct poor light, overwatering, unsuitable substrate, or unstable temperatures. Treat them as optional extras, not main fixes.
Step 5: After 28 Days — When and How to Repot
Once the first 28 days have passed and the plant shows clear signs of active growth, repotting becomes safer.
Signs your plant may need a new pot:
- Roots are clearly visible through the drainage holes or circling just inside the pot.
- The plant dries out much faster than when it arrived, under the same conditions.
- Substrate has broken down into a dense, compact mass that no longer drains well.
Choosing a pot:
- Go only one or two sizes up. Very large pots stay wet for too long and increase the risk of root problems.
- Always use a container with proper drainage holes.
Choosing a substrate:
- Use airy, coarse mixes for many aroids and epiphytic species.
- Use fast-draining, largely mineral mixes for succulents, many Euphorbia, and cacti.
- Use fine but still breathable mixes for many baby plants and species with delicate roots.
Repotting basics:
- Gently loosen the outer layer of roots only if they are very compacted.
- Keep the healthy core of the root ball as intact as possible.
- After repotting, water once to settle substrate around the roots, then let excess water drain completely.
For a full walkthrough, use our Guide to Repotting Houseplants and keep this section as your quick aftercare overview.